

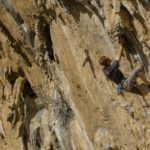
Whether you’re gearing up to climb the sandstone splitters of Indian Creek or Red Rocks, the big walls of Yosemite, the funky lines of Joshua Tree, the granite of North Carolina, or the horizontal cracks of the Gunks, one thing is for sure—it’s crack climbing season.
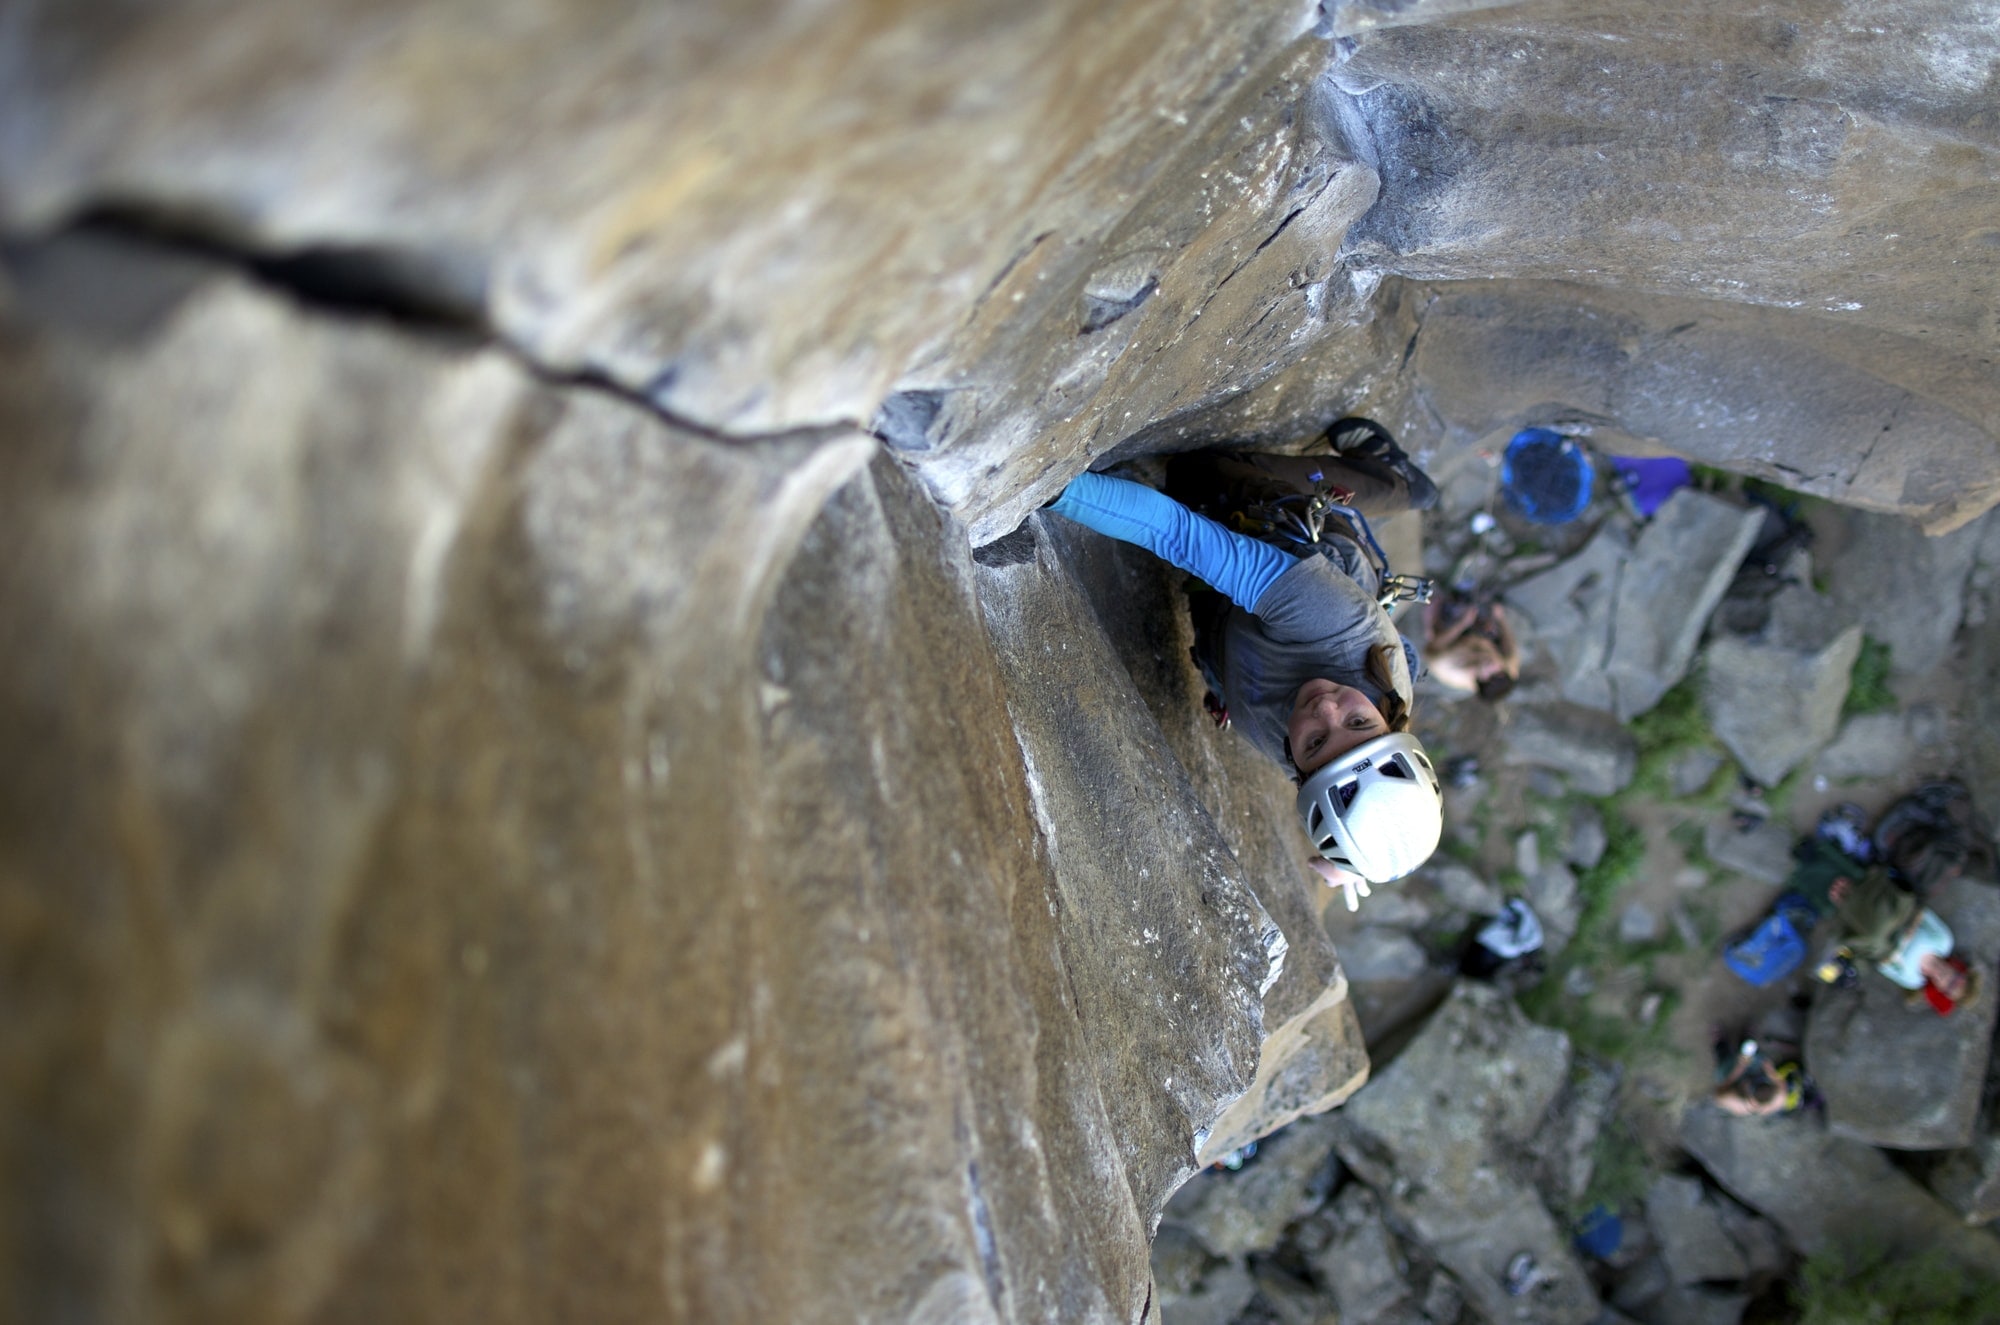
Photo: Kevin Boyko
This kind of climbing requires a different skill set than face climbing, yet most of us train for crack climbing in the same way we would for sport climbing or bouldering. A great way to prepare and recover from crack climbing is through cross training with yoga poses.
5 Yoga Poses for Crack Climbing Performance
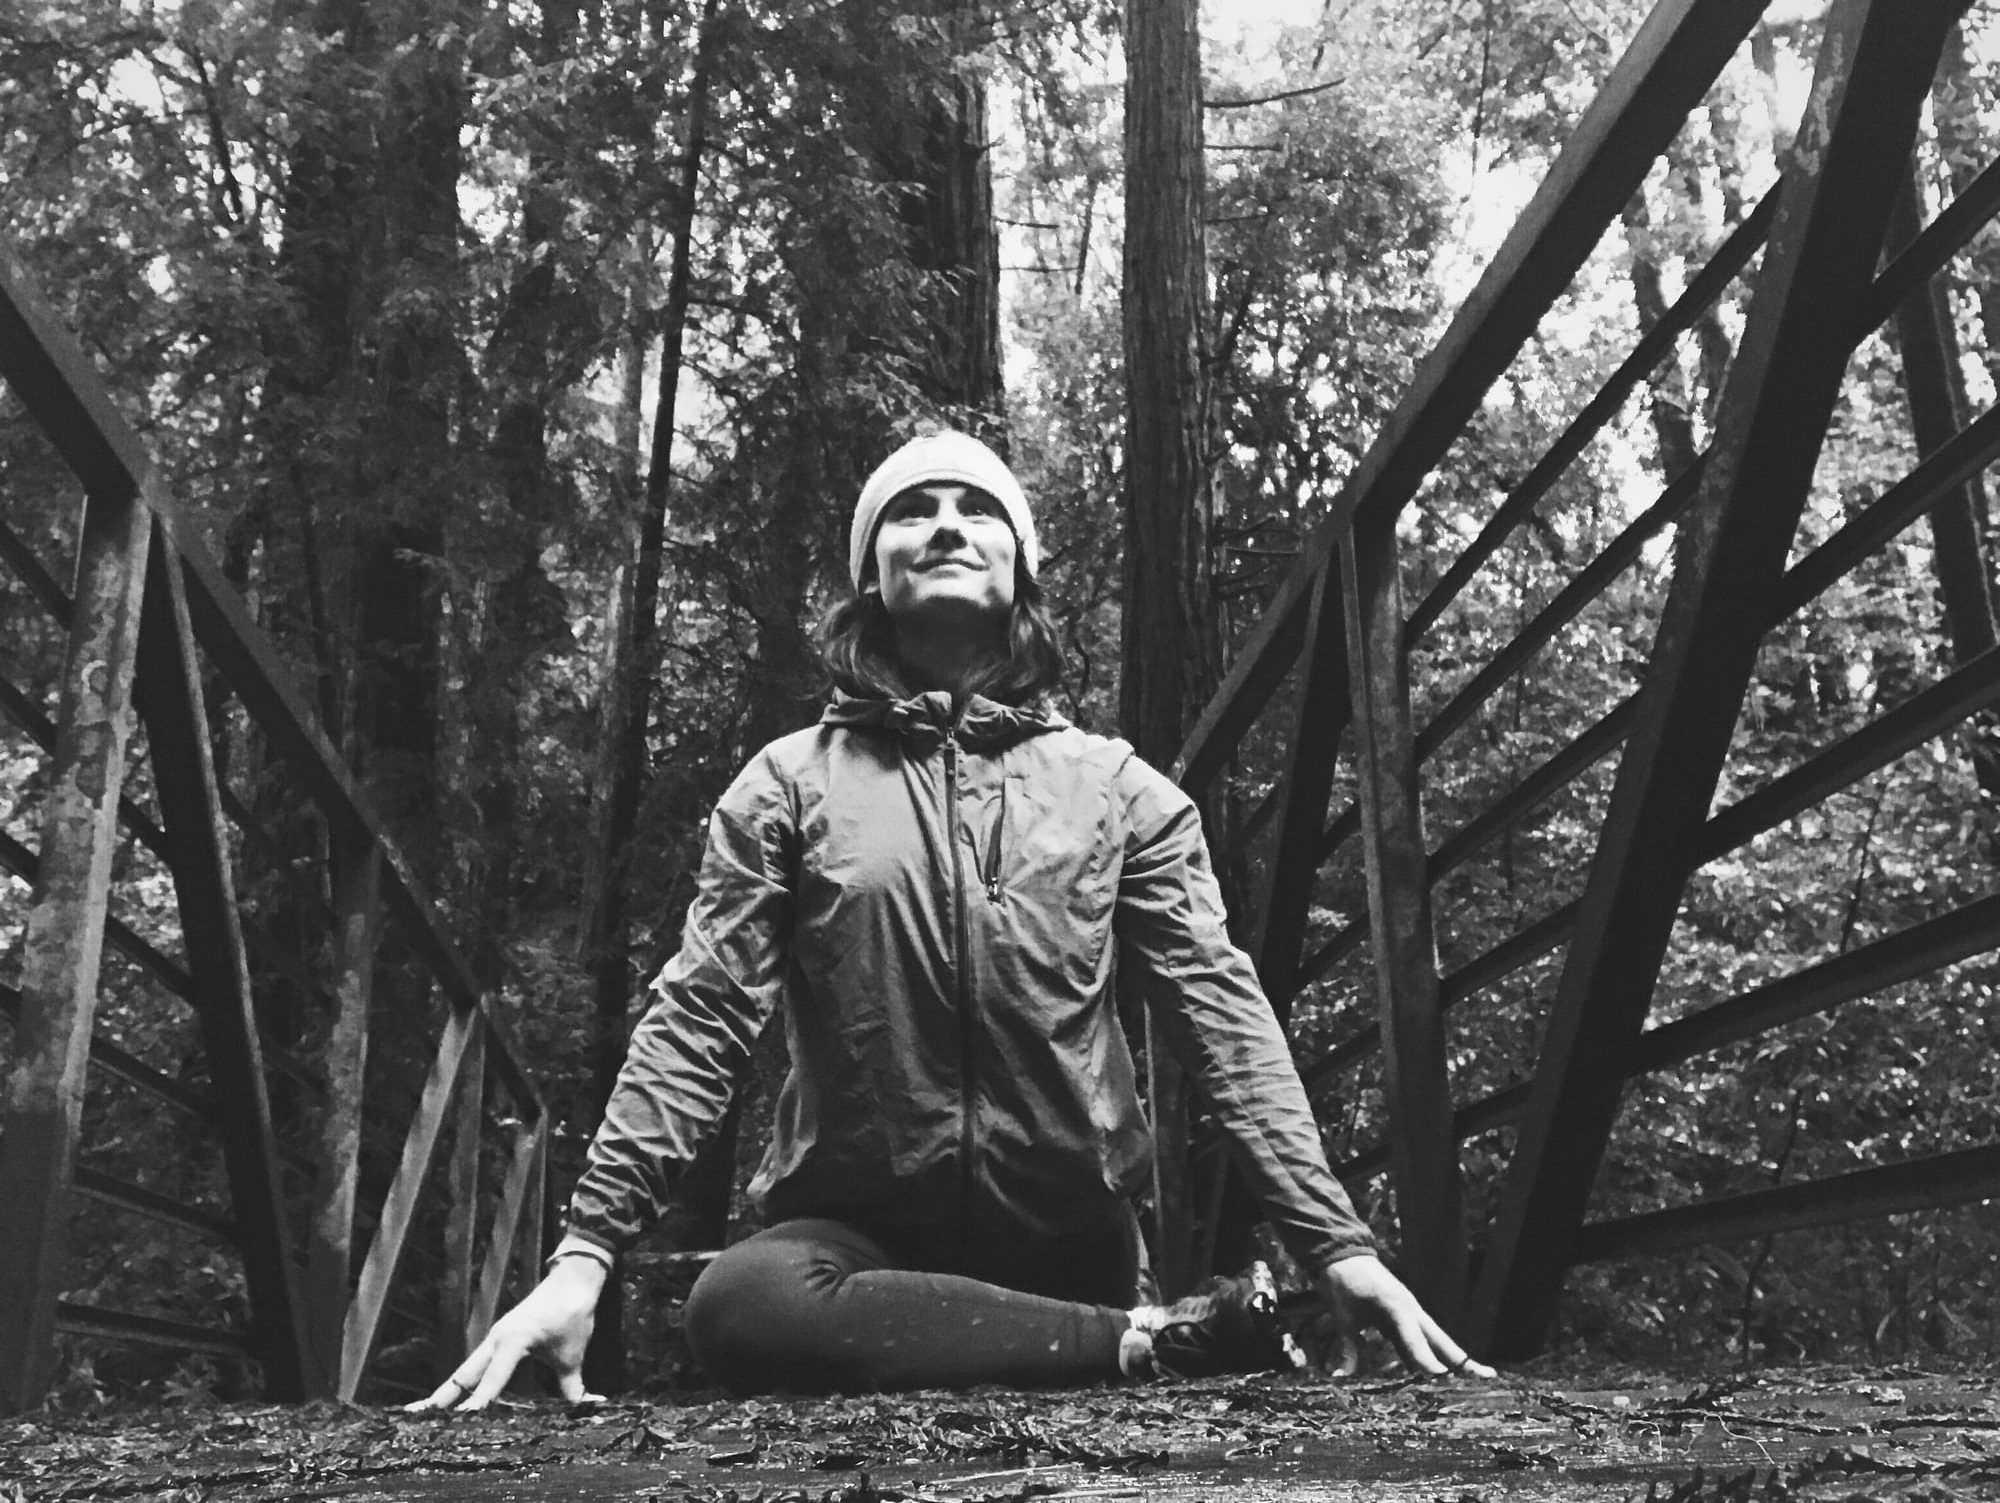
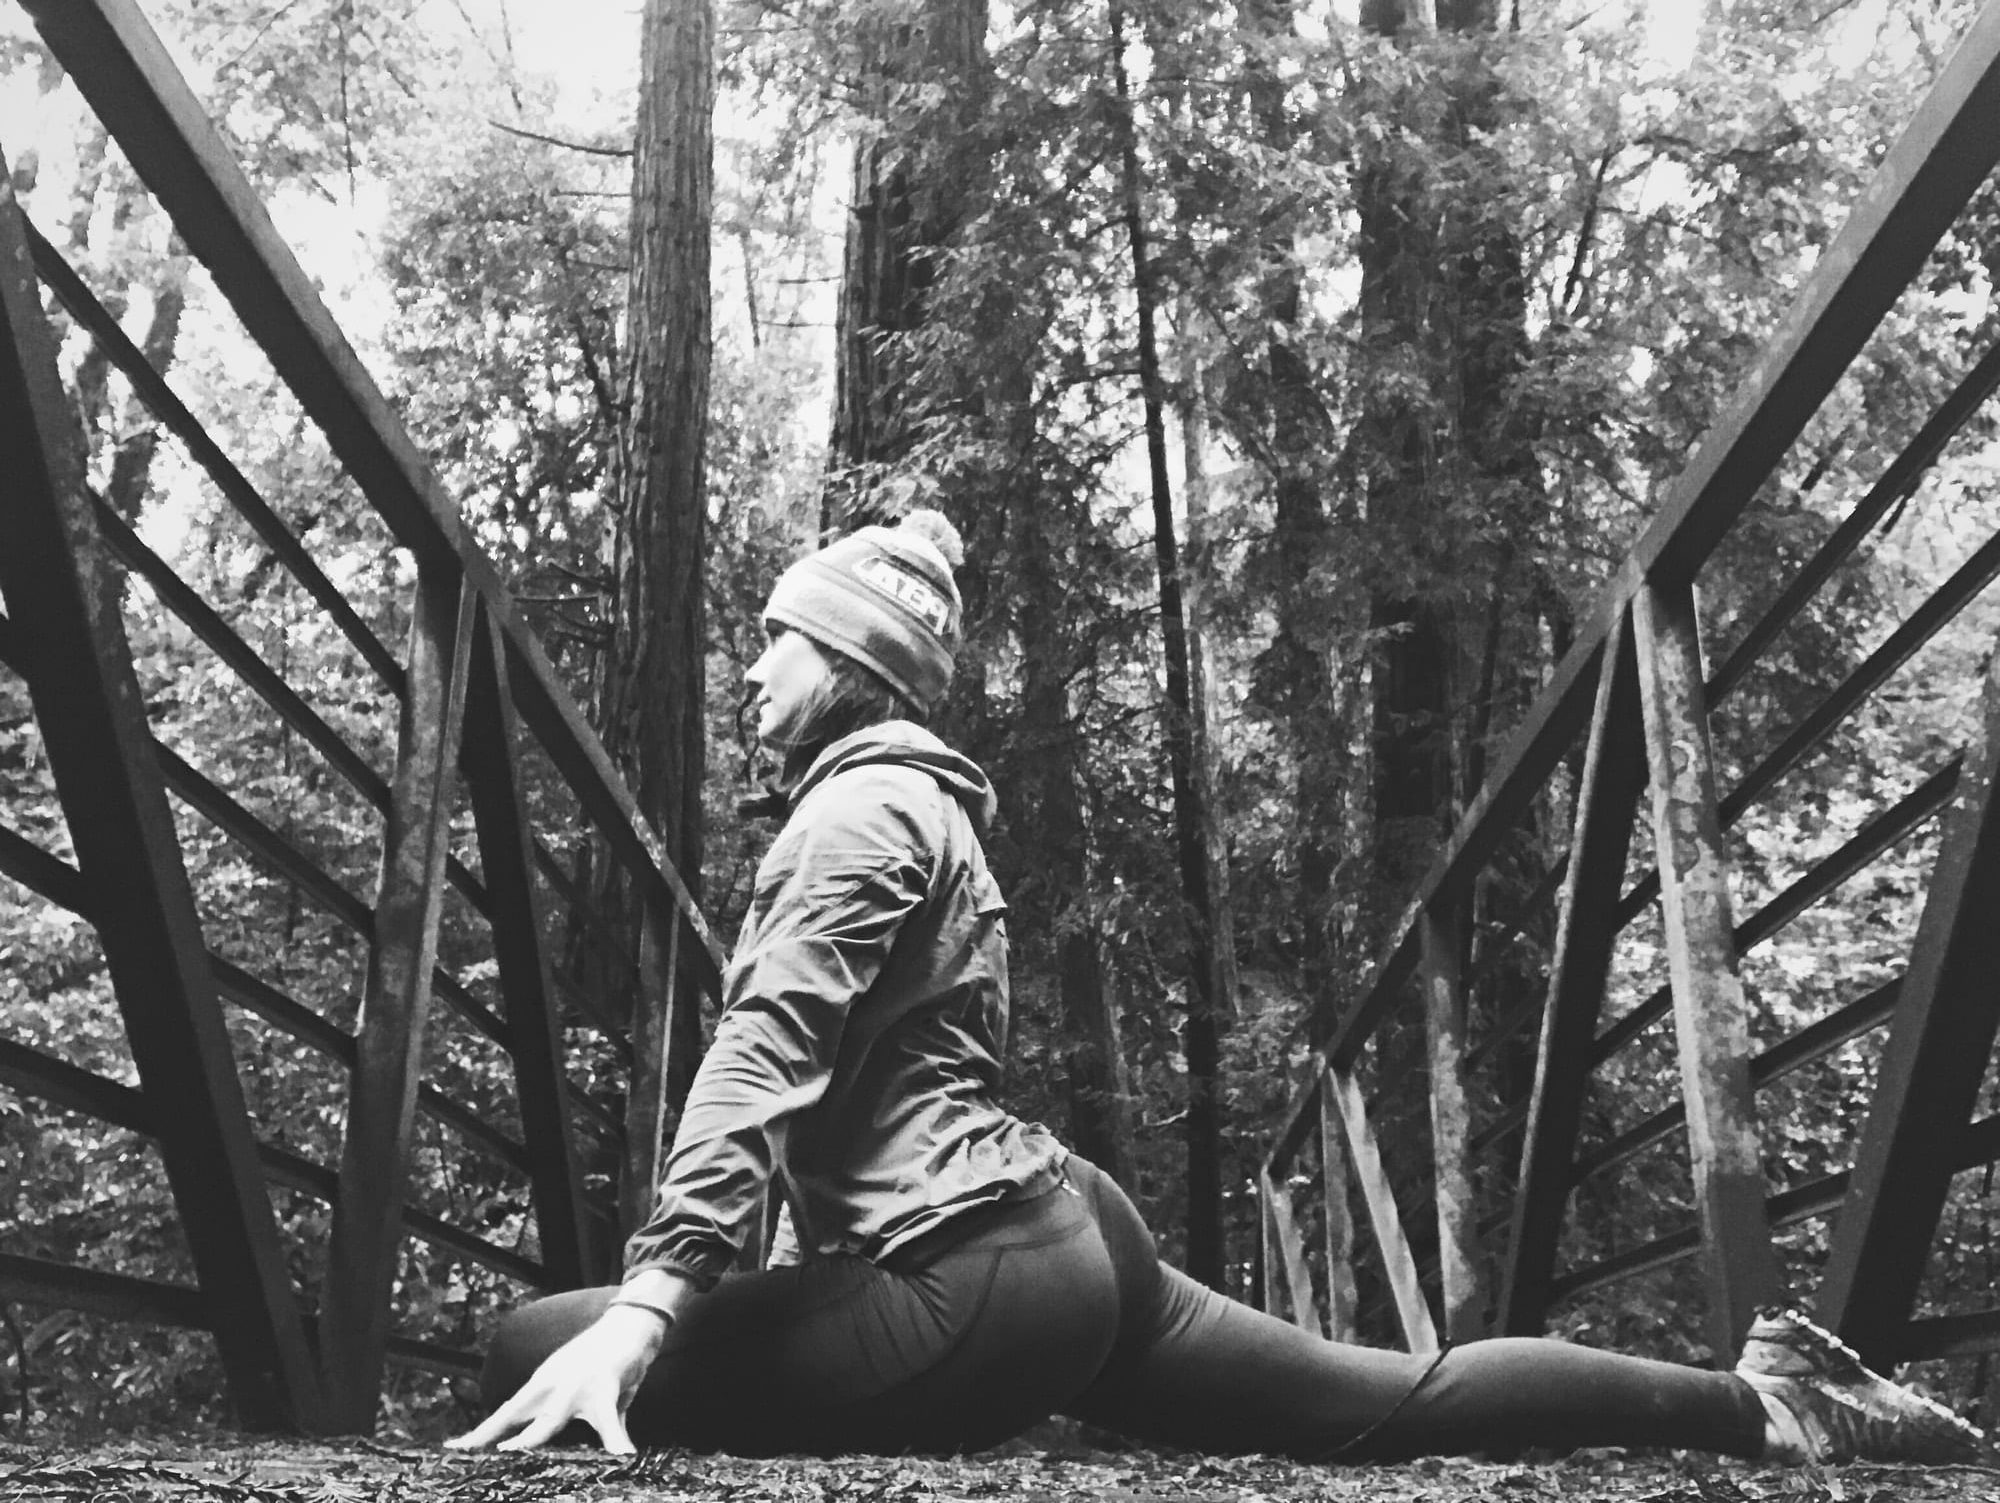
1. Pigeon pose
How
From downward facing dog (or all fours), take your right knee forward towards your right hand. Place your shin down on the mat, keeping your right toes flexed. Your left leg will be extended out behind you.
You can stay pressing into your palms, down onto your forearms, or with your chest resting flat on the floor. Keep your hips level—putting a blanket or pillow under your right hip is helpful for this. Hold for at least 10 slow breaths, then switch sides.
Why
When it comes to crack climbing, hip mobility and flexibility is crucial. Many times we’re required to jam our foot in a very specific spot in the crack. If your hips aren’t open enough to bring your leg close to your chest, it could inhibit your crack climbing performance.
Additionally, it’s crucial that our outer hips are flexible in order to get proper foot jams. For these reasons, pigeon pose is beneficial for crack climbing. Not only does it release the connective tissue of our outer hips, but it mimics the action we do when jamming our foot in a crack.
Safety
Keep your toes flexed to protect your knee.
Modifications
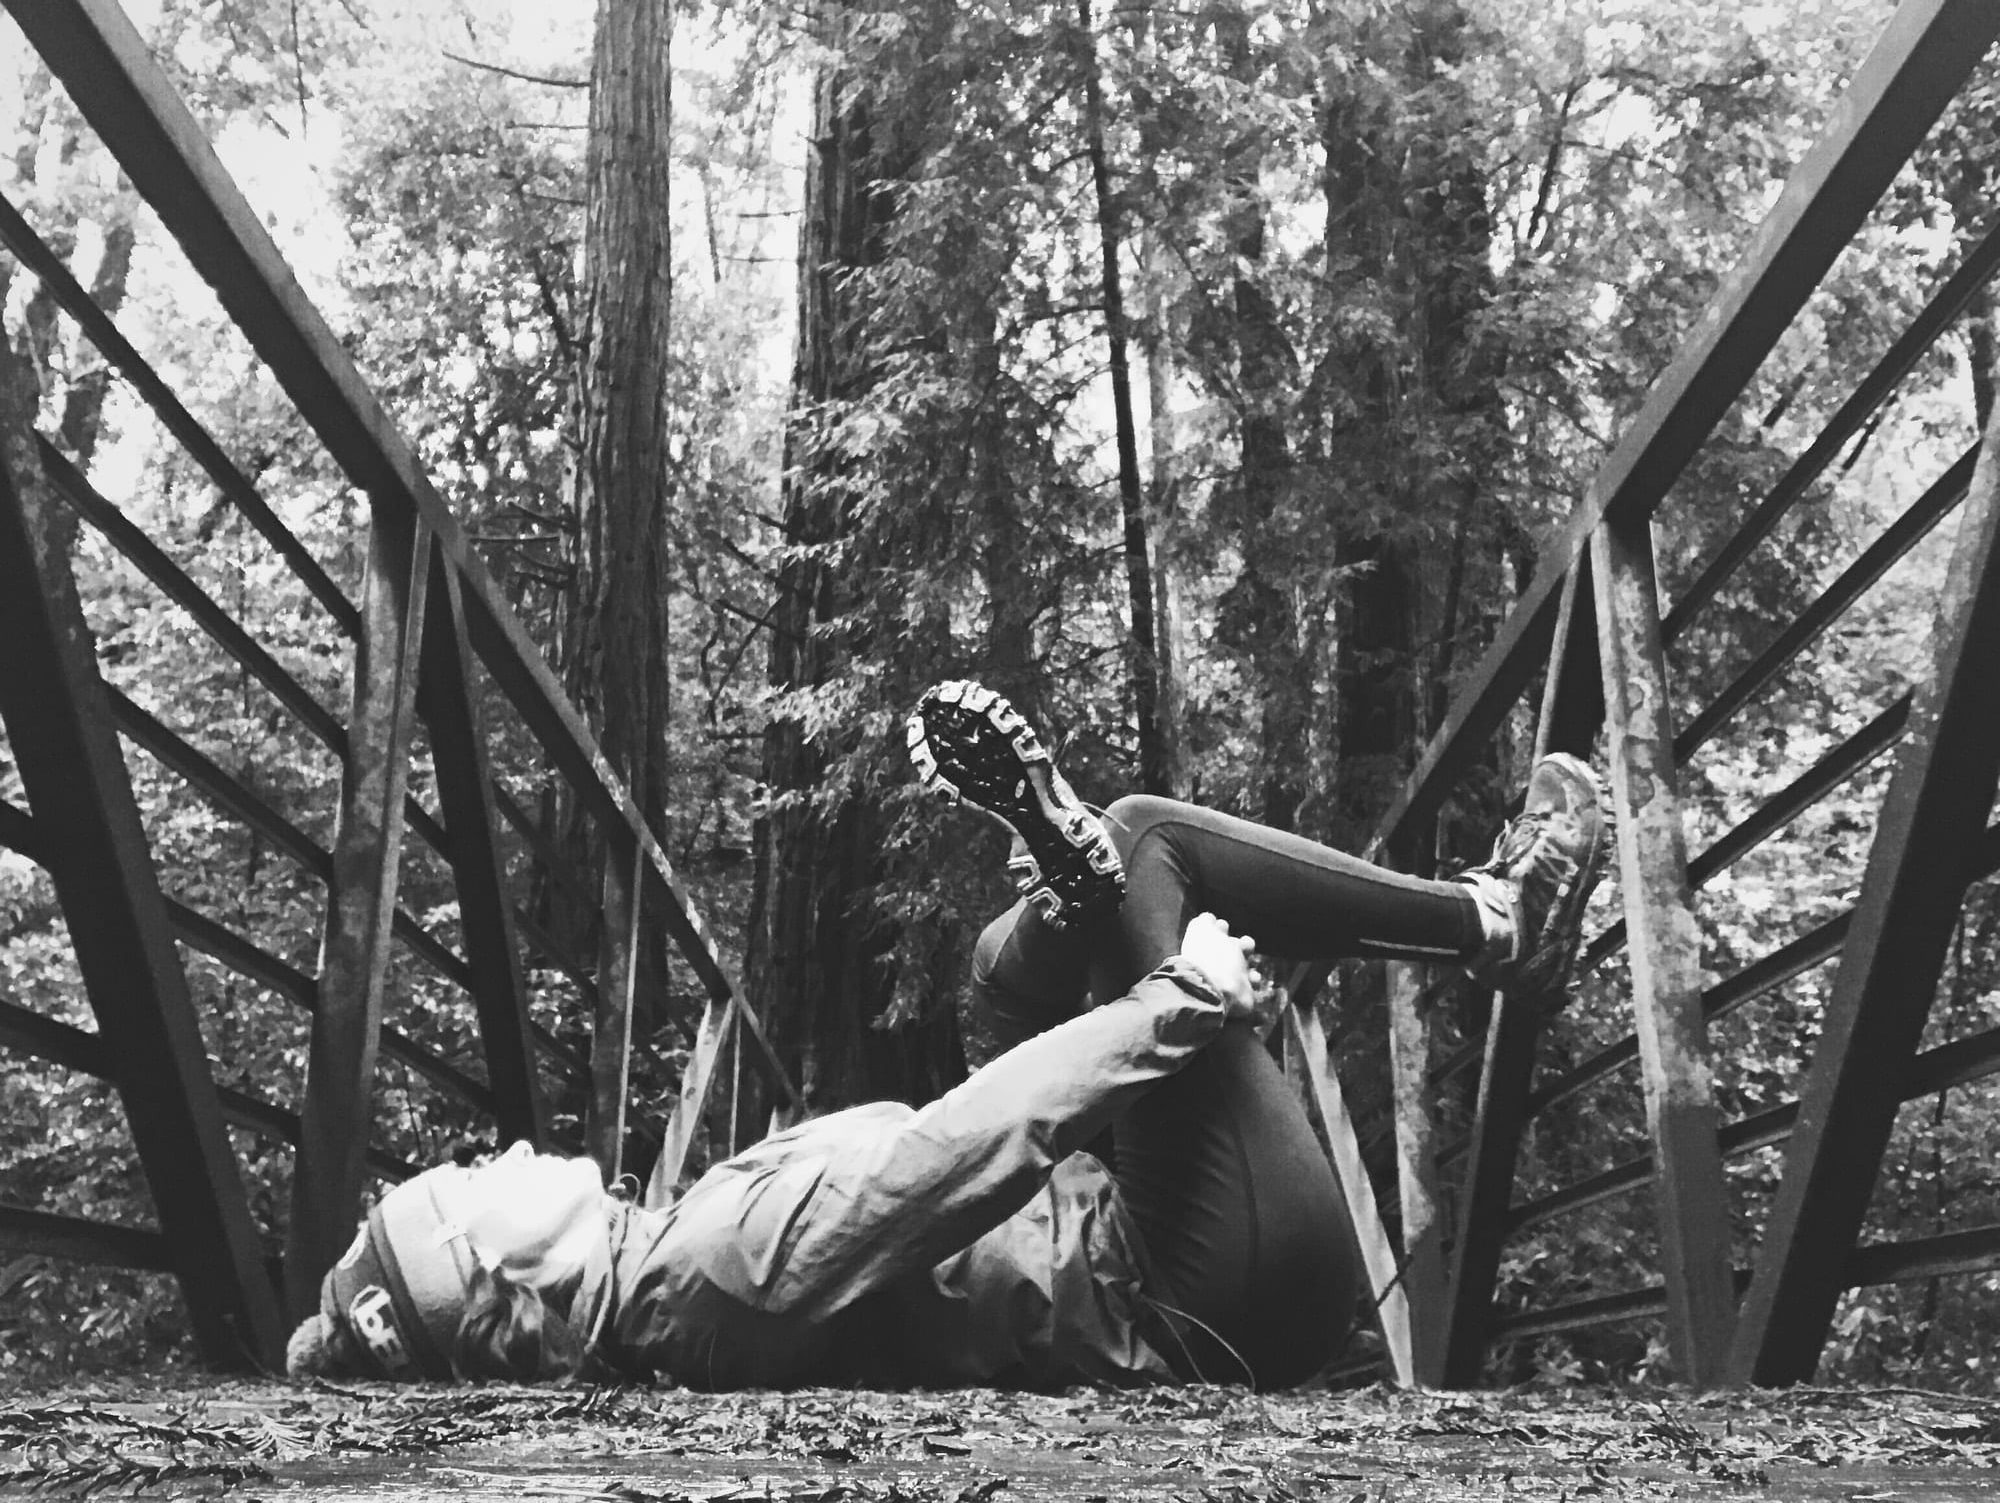
If this pose creates any knee pain (or if it’s just really uncomfortable) you can do this pose instead: lay down on your back, hug your knees into your chest. Cross your left ankle over your right knee, keeping your left toes flexed. Interlace your fingers behind your right hamstring and gently pull your legs towards your chest. Be gentle.
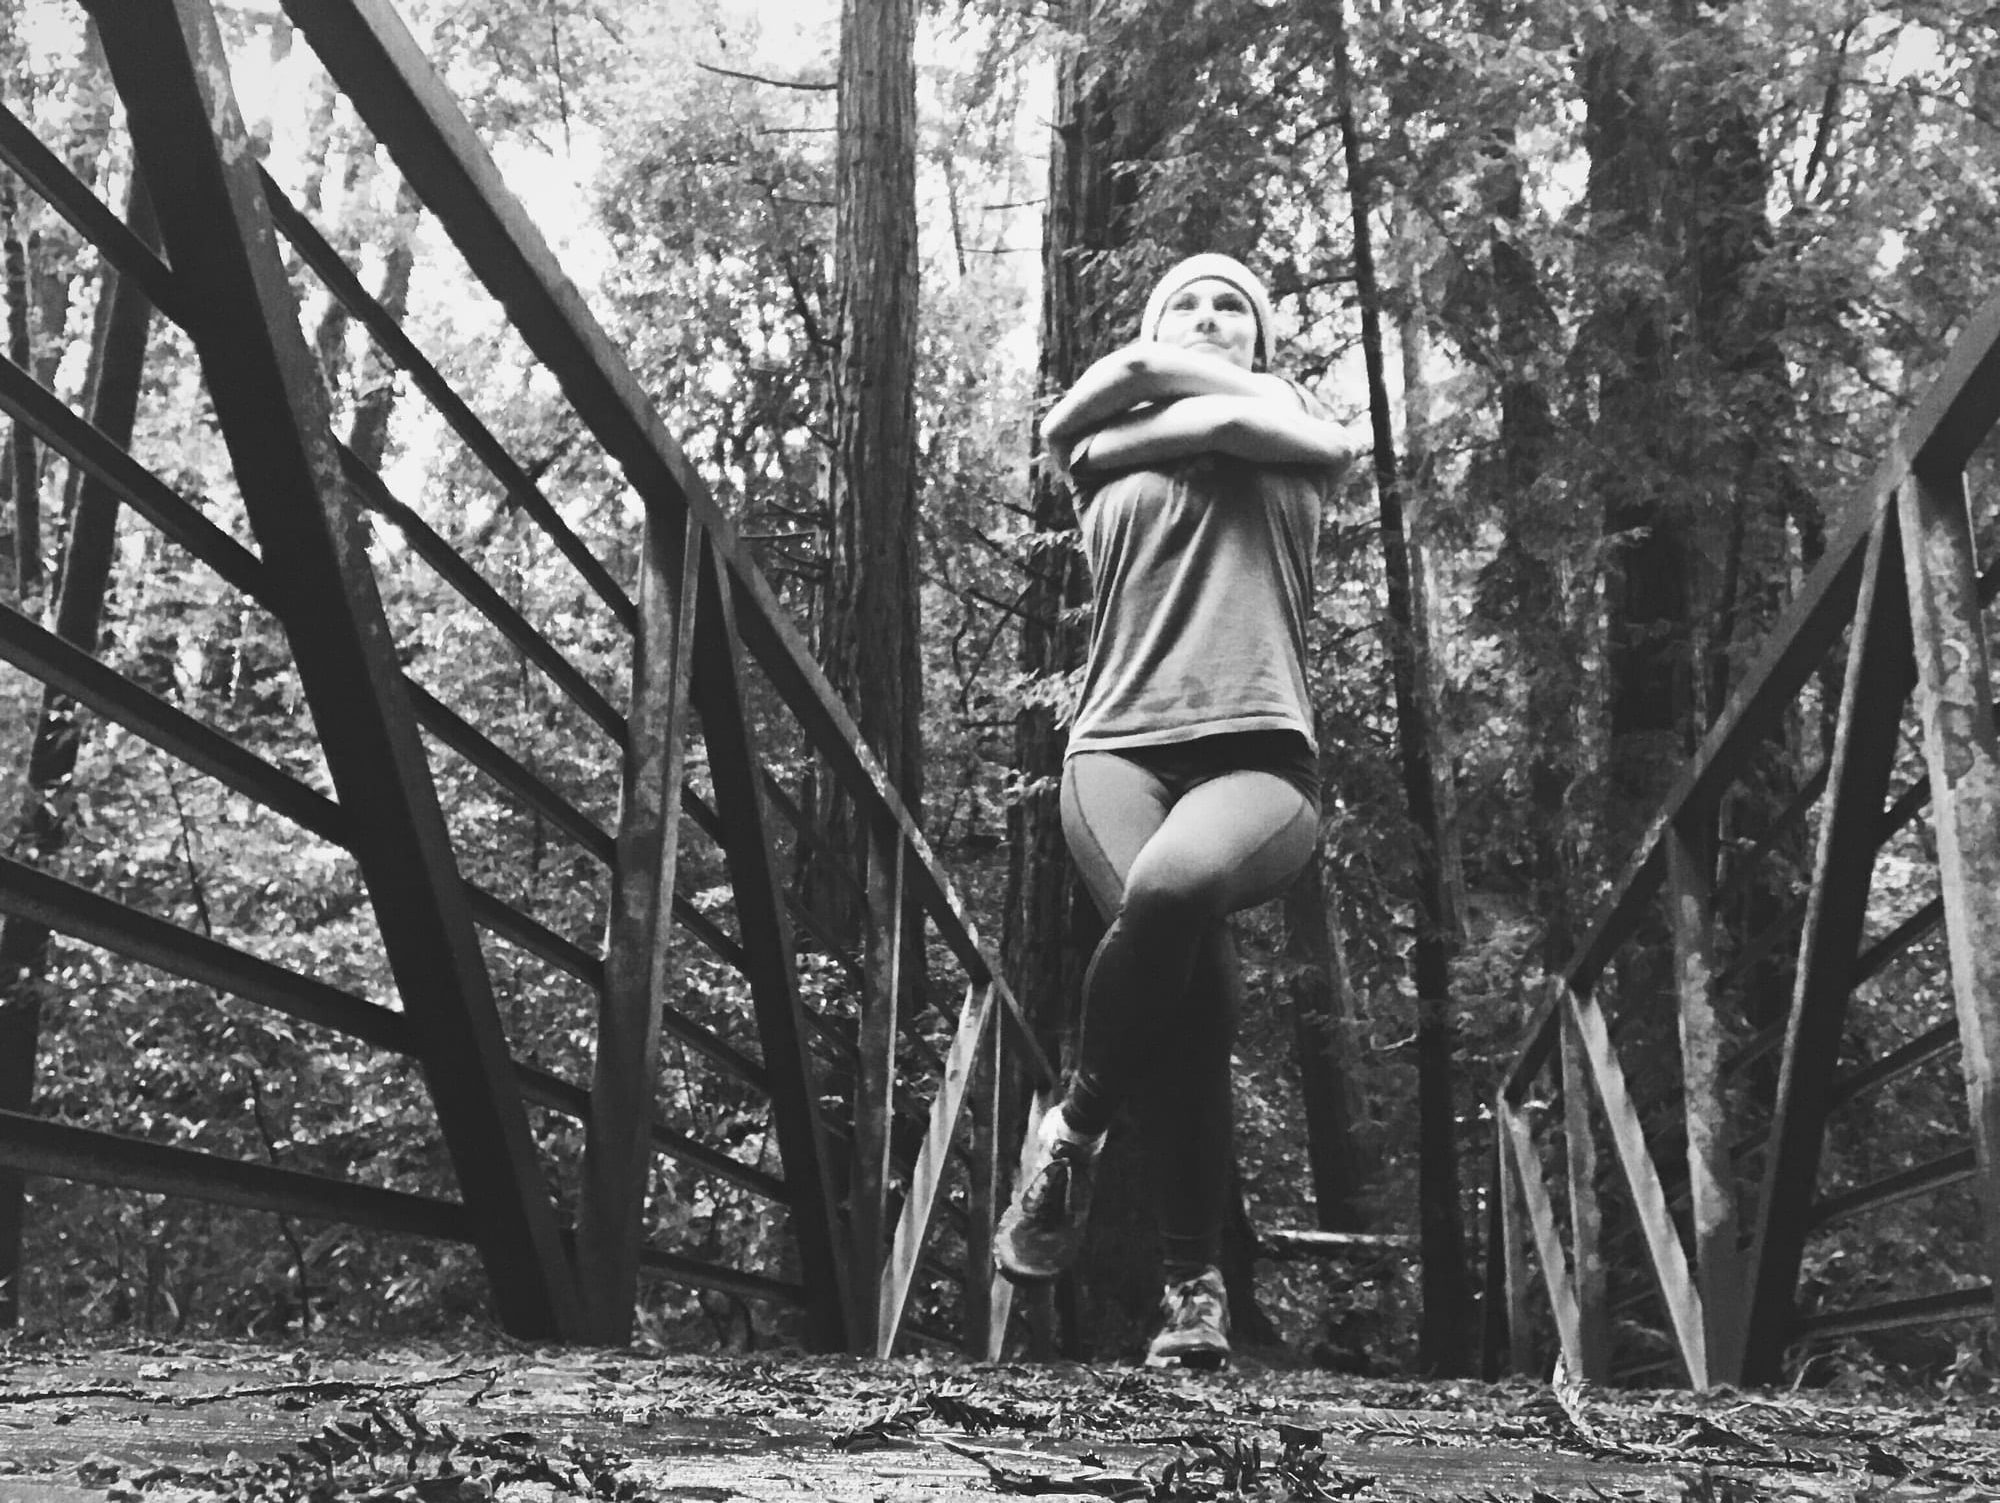
2. Eagle pose
How
Start in a standing position. Shift your weight into your right leg. Cross your left leg over your right thigh and wrap your calf and ankle around the right thigh.
Then, bend your elbows, wrapping your left arm under your right arm, press your palms together, and raise your forearms perpendicular to the ground.
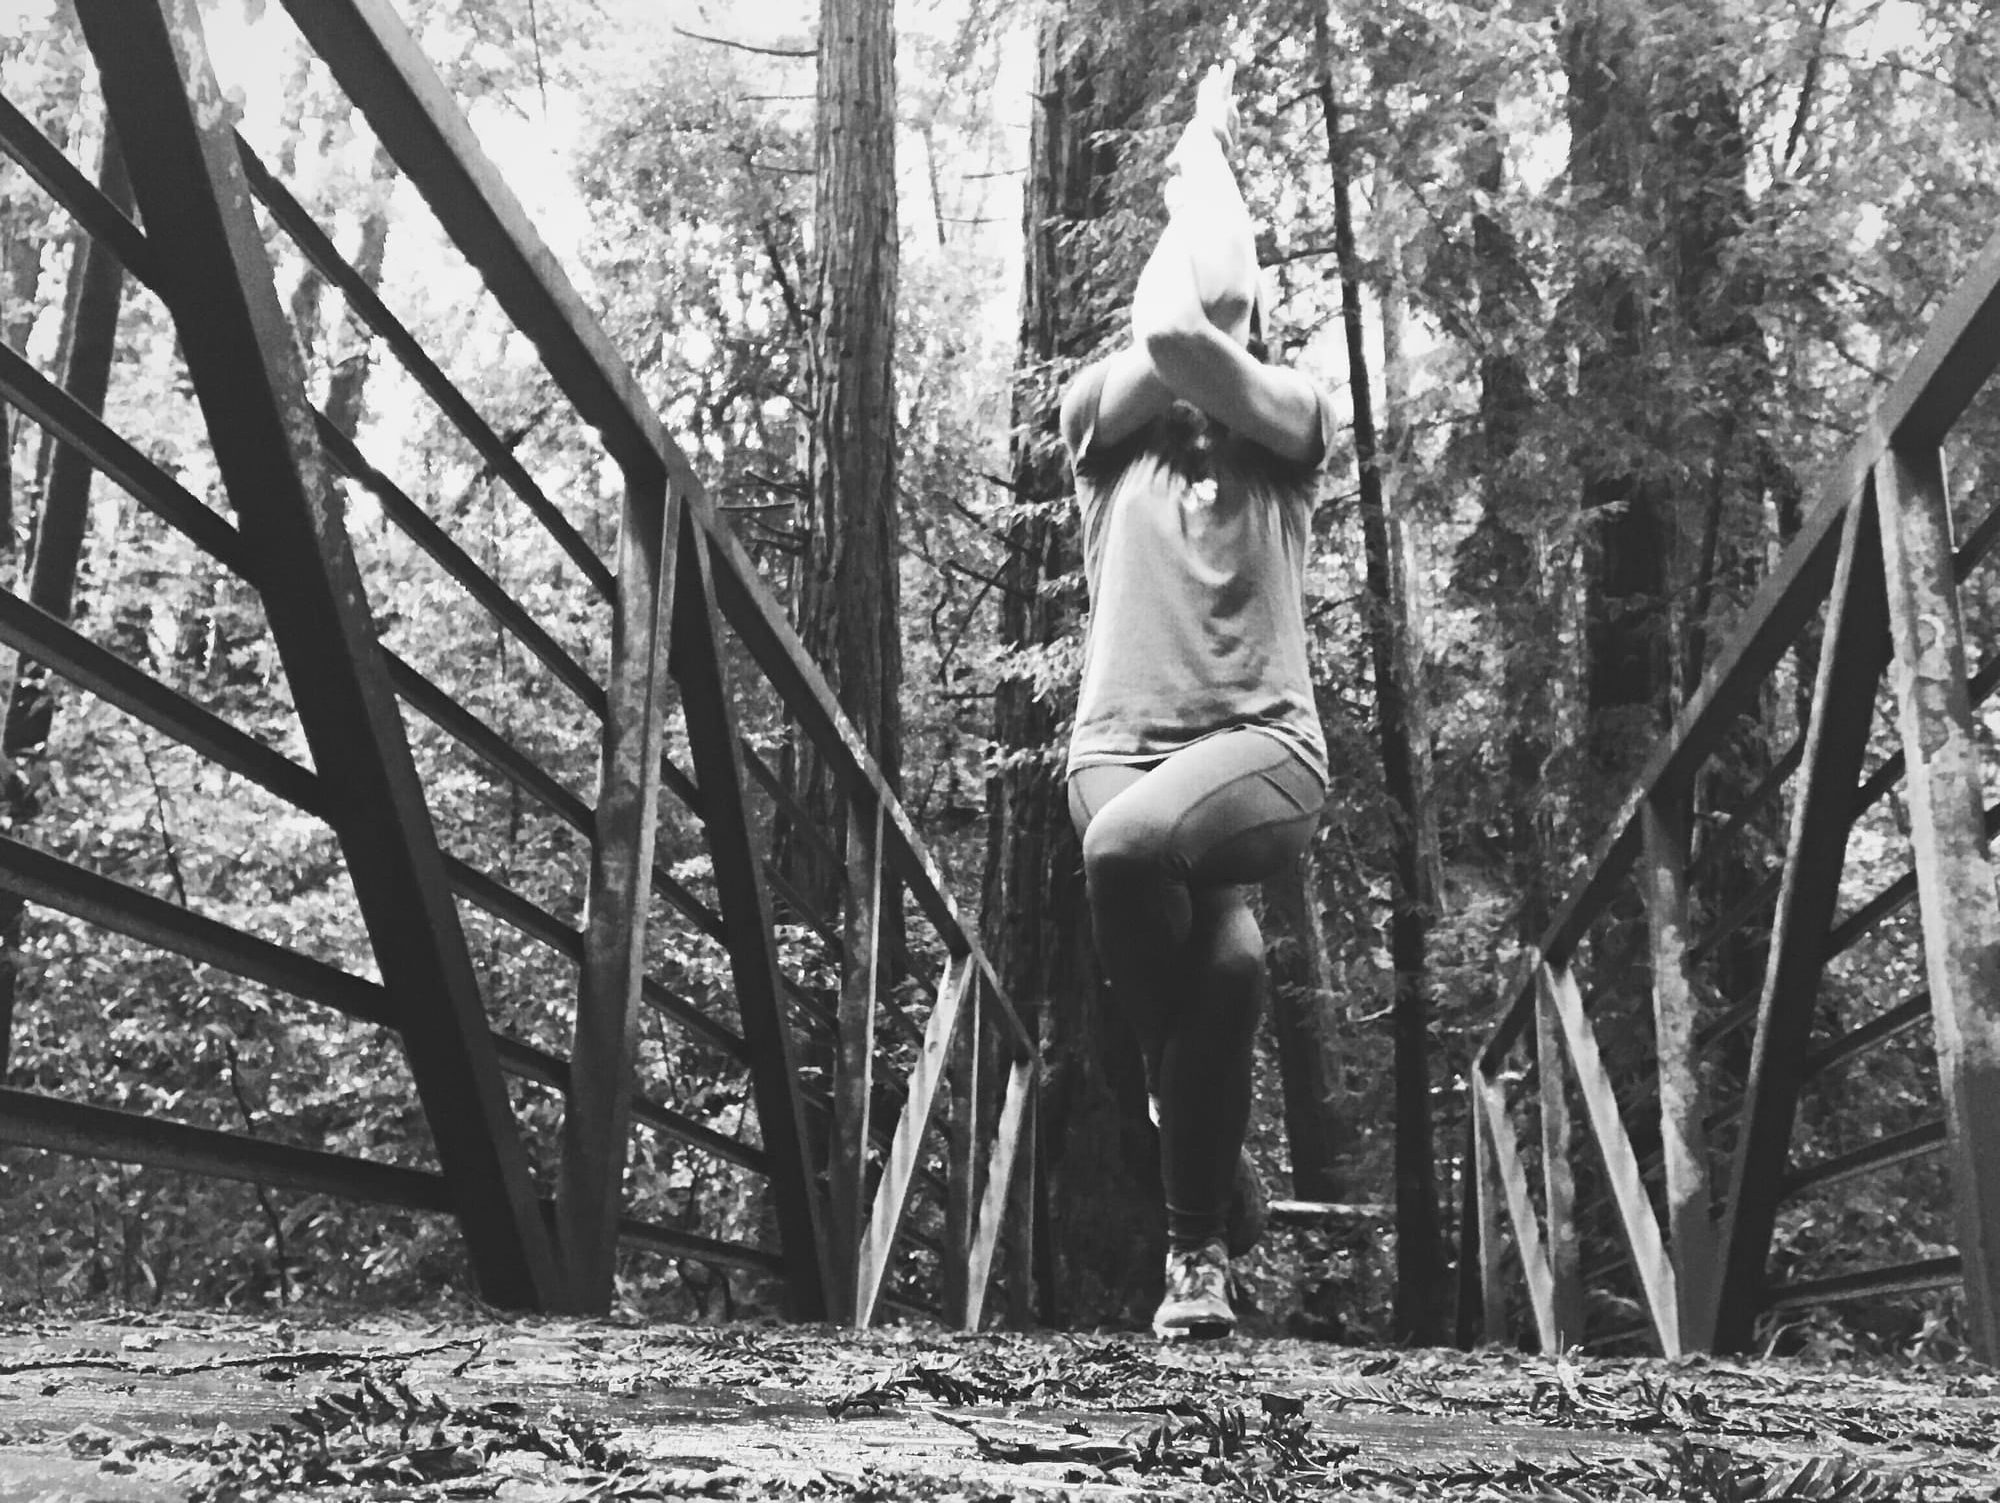
Why
Not only does this pose open your hips and shoulders, but it also strengthens our ankles.
If you’ve ever crack climbed before, you’re probably familiar with that burning sensation in your ankles that comes from foot jam after foot jam. Balancing poses, like eagle pose, help to strengthen and stabilize the ankle joints. This pose also opens the shoulders and outer hips, which is important for crack climbing performance and overall health.
Safety
If you’re really feeling wobbly, keep your back up against a wall in this pose.
Modifications
If your palms don’t quite press together, or if this pose makes your shoulders feel uncomfortable, you can always just give yourself a hug instead!
3. Knee to elbow plank
How
Come into plank pose, the top of a push up. Push back through your heels and activate your leg muscles. Take your belly button in towards your spine. Staying stable in your core, bend your right knee and take it towards your right elbow. Take five deep breaths and then return to plank with both feet behind you. Switch sides.
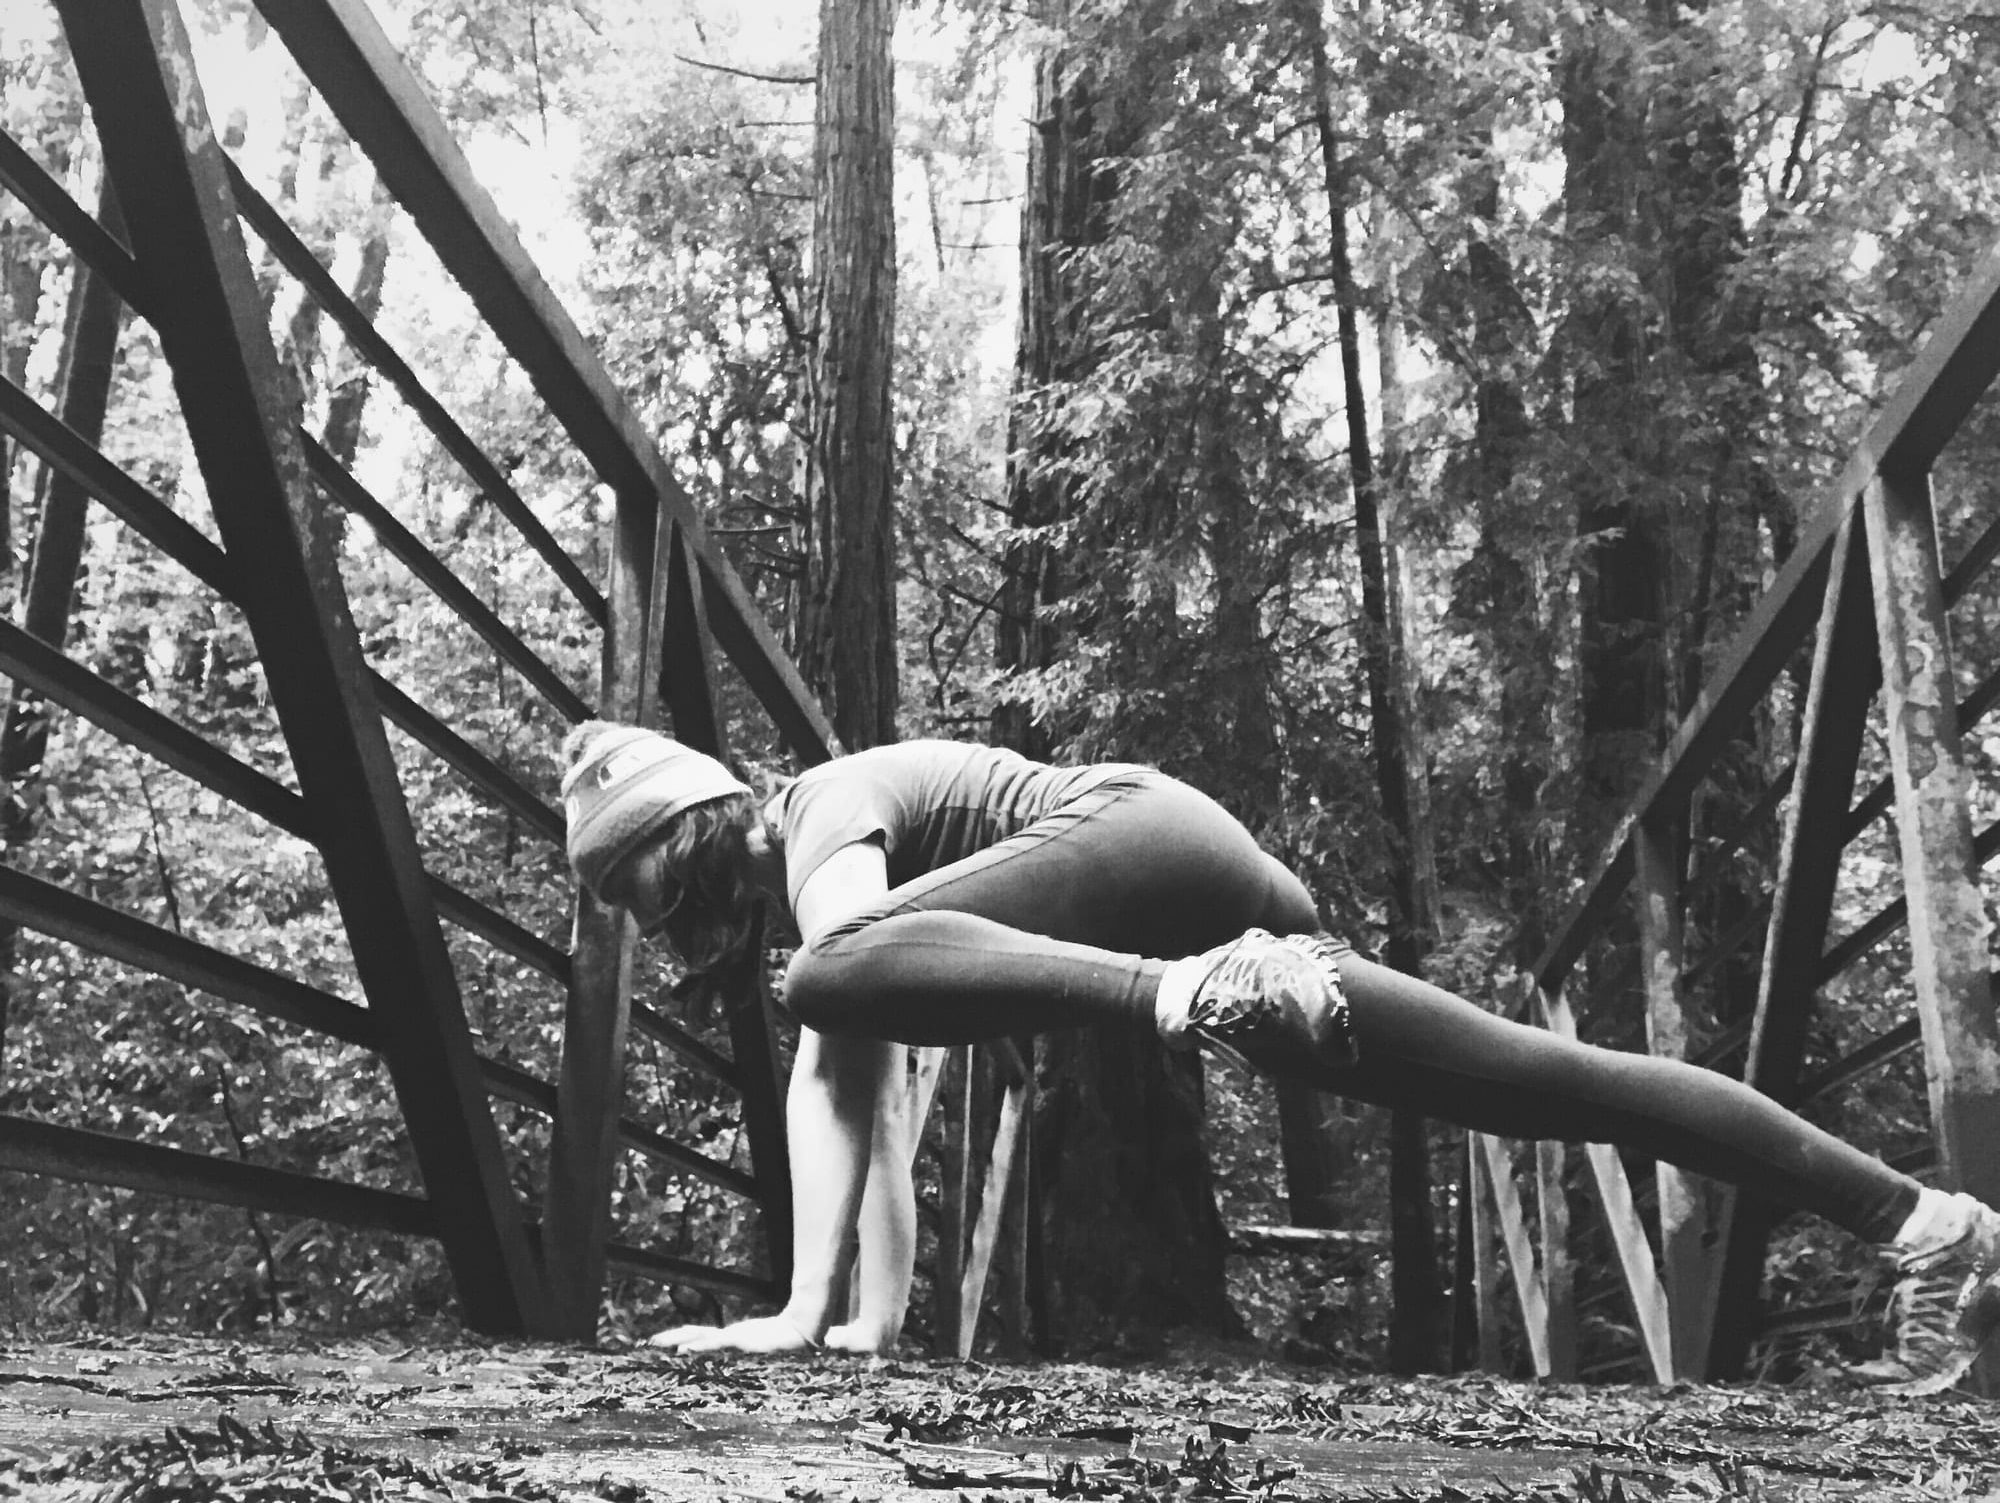
Why
Does this position look and feel familiar?
This is very similar to the movement we do in climbing called “high stepping.” In crack climbing, your ability to high step can make a huge difference.
Often, especially when climbing on granite, we rely on constrictions in the crack for our foot jams. However, sometimes these constrictions aren’t in a place that is easily reachable for our feet/legs. Let’s say the constriction is up by your waist—you’ll need the flexibility and strength to bring your knee up by your elbow in order to reach it.
Safety
Spread out your fingers so you have a lot of surface area with your hands, and press down through the “L” shape you’re making with your thumb and pointer finger. This will protect your wrists and shoulders.
Modifications
If your knee doesn’t quite make it to your elbow, it’s okay! Just get it as close as you can. With practice, your knee will get closer.
4. Bow pose
How
Lay on the floor face down. Take your arms down by your sides, palms facing down. On an inhale lift your legs, arms, and chest up off the mat. Keep your legs no wider than hip distance apart and your shoulders away from your ears.
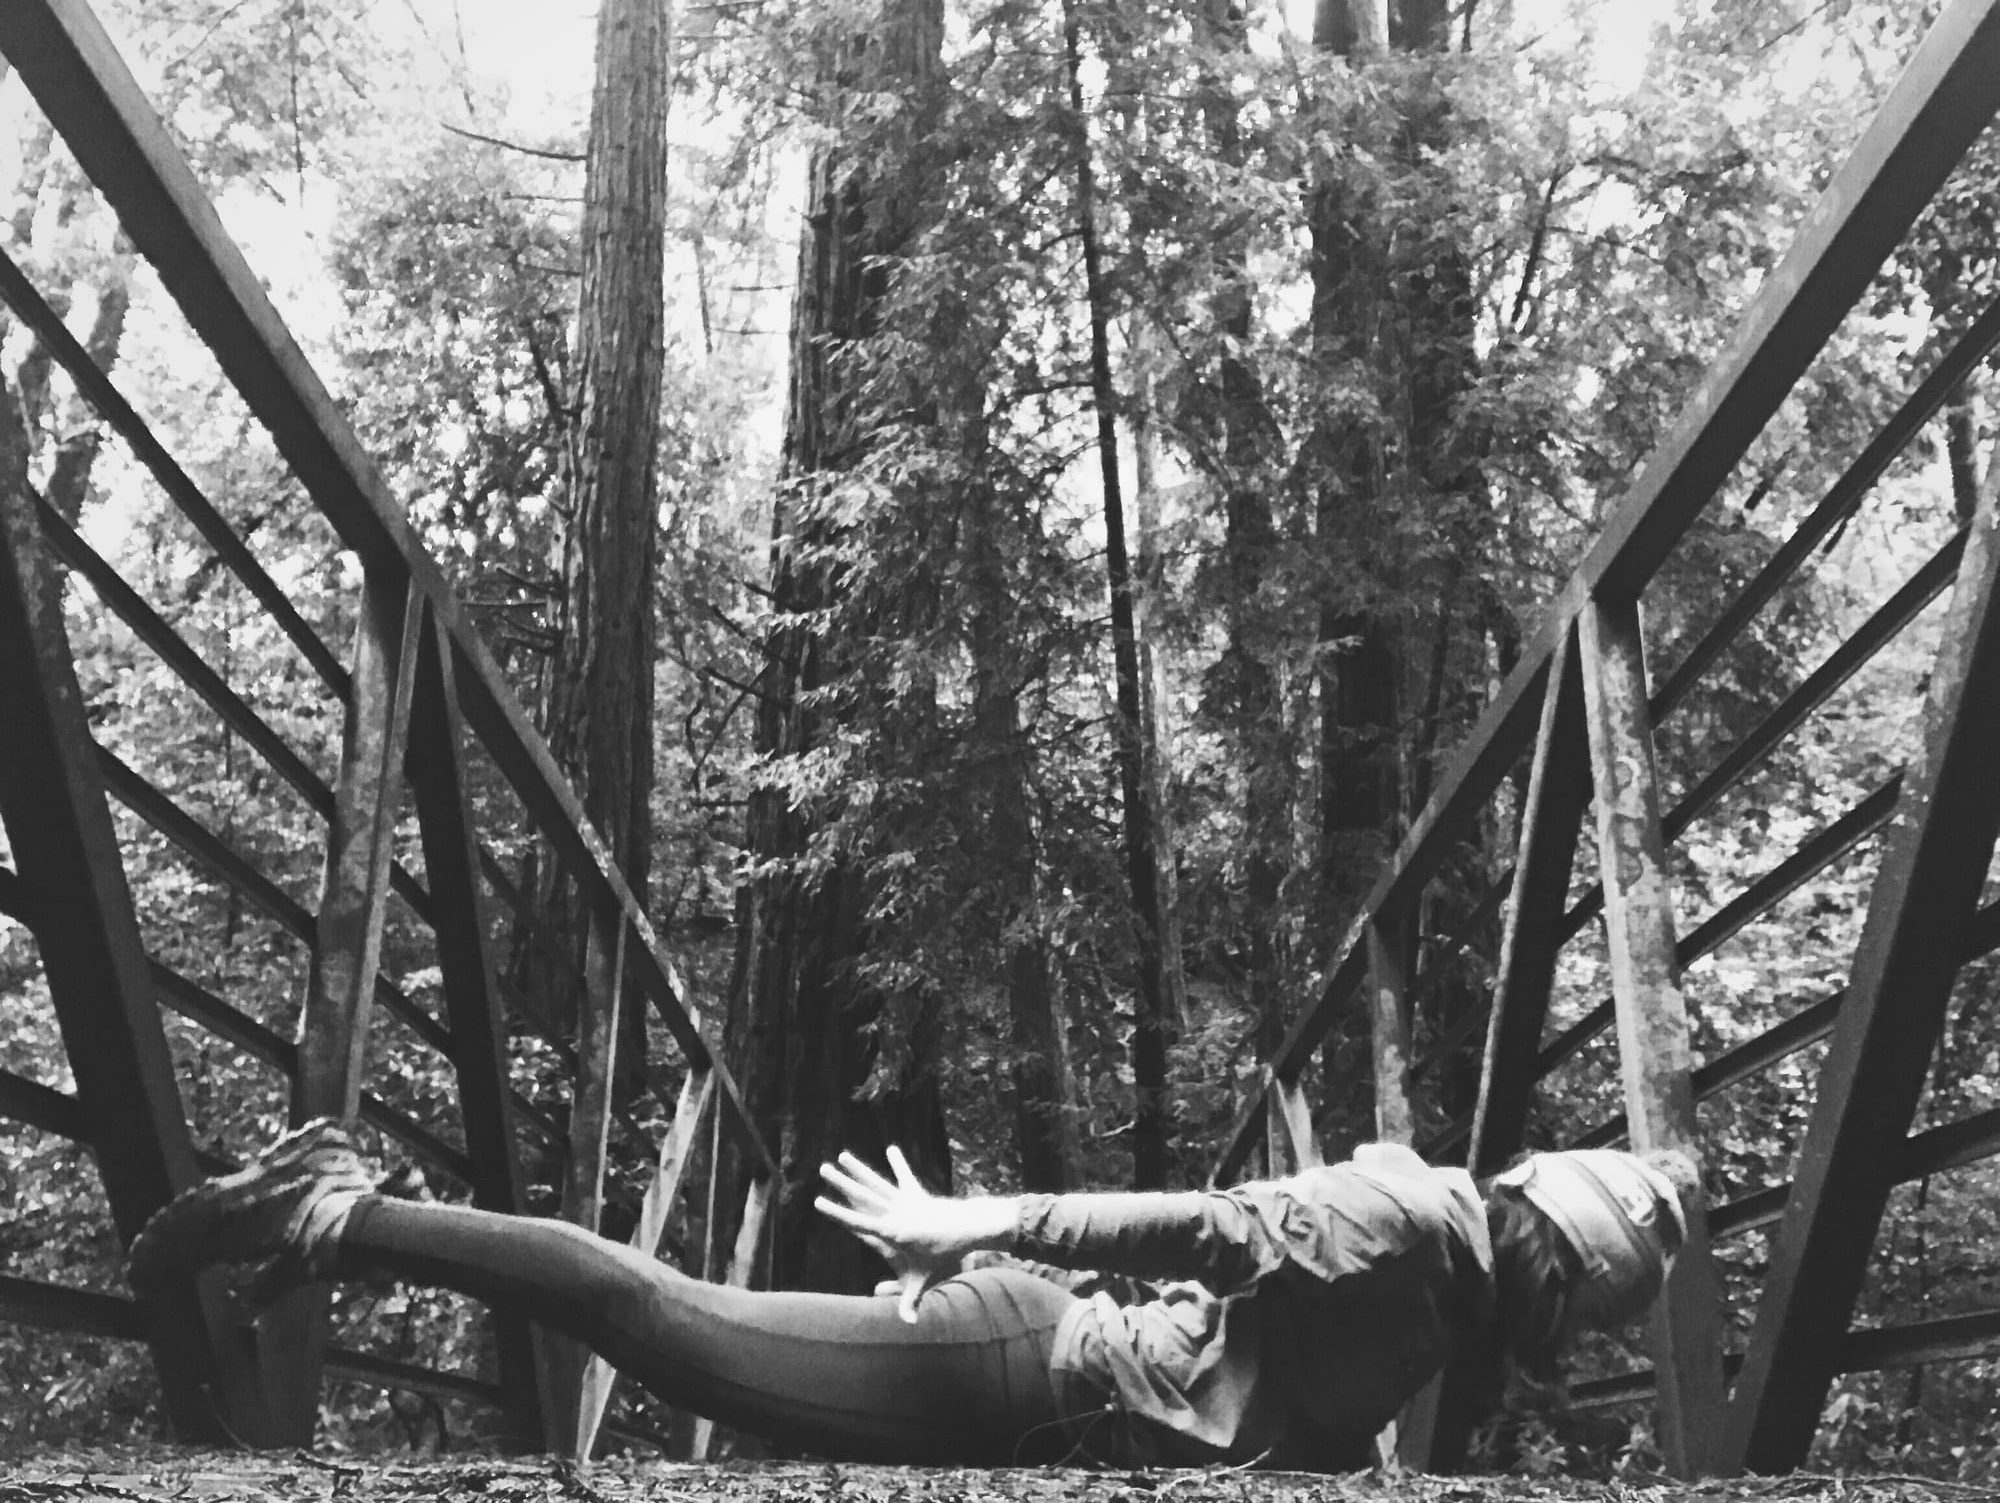
Why
Not only does this pose strengthen the muscles on the backside of your body, but it also helps counter all of the hunching forward that happens during climbing and belaying (and the 10-hour drive to the Creek!).
Safety
Look down at your mat or only slightly forward so the back of your neck stays elongated. Also, press your pelvis down into the floor to protect your lumbar spine.
Modifications
If this pose feels uncomfortable or creates any pain in your lower back, you can do sphinx pose instead. Keep your legs on the floor and come up onto your forearms. Keep your shoulders down and away from your ears.
5. Restorative child’s pose
How
This takes all of the benefits of a classic child’s pose and adds a restorative aspect to the posture.
Get some blankets and pillows. Stack two or three pillow on top of each other. Take your big toes together and your knees out wide. Put the stack of pillows between your knees. Lay your torso onto the pillows. Your arms can go wherever feels most comfortable (most people like to hug the pillows).
Release any muscular tension from your body. Don’t try to hold yourself up at all, sink all the way down into your mat. Cover yourself with a blanket to get extra cozy. Breathe slowly and deeply. Hold for at least three minutes.
Why
Climbing is draining for our physical, mental, and emotional bodies. This pose helps restore these parts of us. It’s also a great hip opener.
Safety
When we hold poses for a long amount of time, it’s important to come out of the pose slowly. Go slowly and gently!
Modifications
If this pose hurts your knees, fold up a blanket and place it in the crease of your knees. This will create some space for the knee joint.
By practicing these poses, we can focus on the specific parts on of our bodies that are involved in. What are your favorite poses for climbing?
Want more climbing content? Get our awesome climbing newsletter, delivered weekly.
Explore more
- Our 30+ most popular articles ever
- Today’s Best Rock Climbing Gear Deals
- 200+ rock climbing videos
- Top 25 Books for Rock Climbers
- Teaching Yoga to the Toughest Alpine Climbers in the World
- 10 Tips to Climb Harder by Climbing Smart and Efficiently
- How Our Hormones Can Help Us Send
- 5 Exercises for Developing a Stronger Core with Eric Horst
- How to Crack Climb: 10 Helpful Tips
- The Power of Isometric Contraction for Climbing
- 10 Reasons Why Every Climber Should Meditate
- Top 7 Best Recovery Tools for Rock Climbers
- Strength or Power? Improving Your Climbing with Plyometrics Training
- The Climber Athlete: An Argument for Weightlifting
- Get daily updates by Liking us on Facebook
- Free rock climbing PDFs on technique, training, knots, and more

