

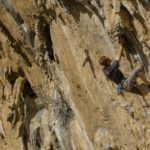
Yosemite can seem like a daunting place filled with rules, rangers, and rocks, BIG ROCKS. Rock so big that you can’t take your eyes off them. So big, you’ll get anxious and find any excuse to bail from your mission. I get the warm-fuzzies and simultaneously, shake in my boots, knowing quite well that the mountain can destroy me. And this May will mark the start of my sixth season in Yosemite Valley. But fear not!
The Valley offers adventure for people of every ability.
Whether you boulder V10 or VB, have never placed gear, or if you aid the Columbia boulder for funsies, Yosemite is a place for everyone. I did my first trad leads here, multi-pitches, unplanned bivies, 30+ hour pushes, and long free climbs. Each experience has been logged as “character building,” and while I may have had far more close encounters than I’d like to admit, I now have the knowledge base to help you enjoy your adventures and hopefully mitigate the number of epics you earn.
Here is a rundown on how I prepare for my big days out in Yosemite:
Choose a route
Pick a climb that you are fairly certain you can reach the top of (free or aid). Or, if there is uncertainty, make sure there are bail options. Diligently study the topo, approach, and descent for the climb.
There are a number of useful guidebooks, depending on the type of climb/adventure you’re after, including:
- SuperTopo’s Yosemite Valley Free Climbs
or Yosemite Big Walls
- Yosemite Bigwalls: The Complete Guide
- And the newest guidebook, Rock Climbing Yosemite Valley: 750 Best Free Climbs


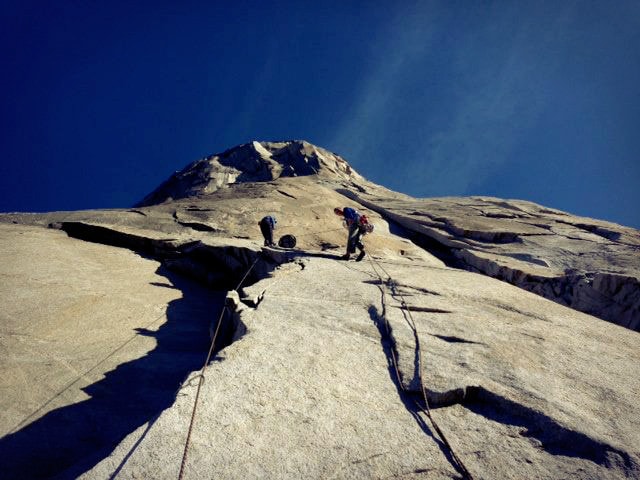
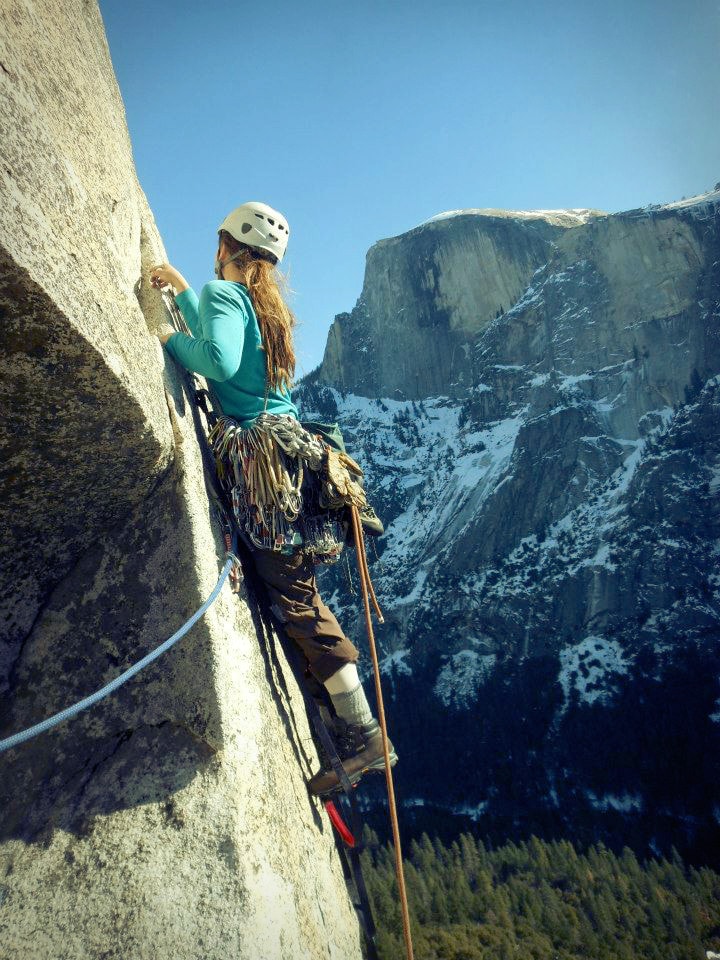
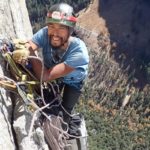
Vitaliy and I on our first wall experience up El Capitan, The Nose. March 2013
Consider logistics
Factor in approach, route, and descent time. Always err on the side of caution because climbs usually take longer that you expect …
For example, let’s take Royal Arches (5.7 A0, 15 pitches).
- Approach: 20 minutes; Ahwanhee Hotel parking lot to base of the route
- Climb (novice): 1 – 1.50 hrs a pitch for leader and follower to climb; 15 – 22 hours of climbing
- Descent: Will you rappel or walk off?
Rappelling is more dangerous, especially with fatigue. The Royal Arches rappel is notorious for rappelling accidents. Two ropes are needed to descend. Walking off can be confusing and hard to find—especially in the dark. Be prepared to spend the night out if you have to. This can and will happen to most climbers in Yosemite.
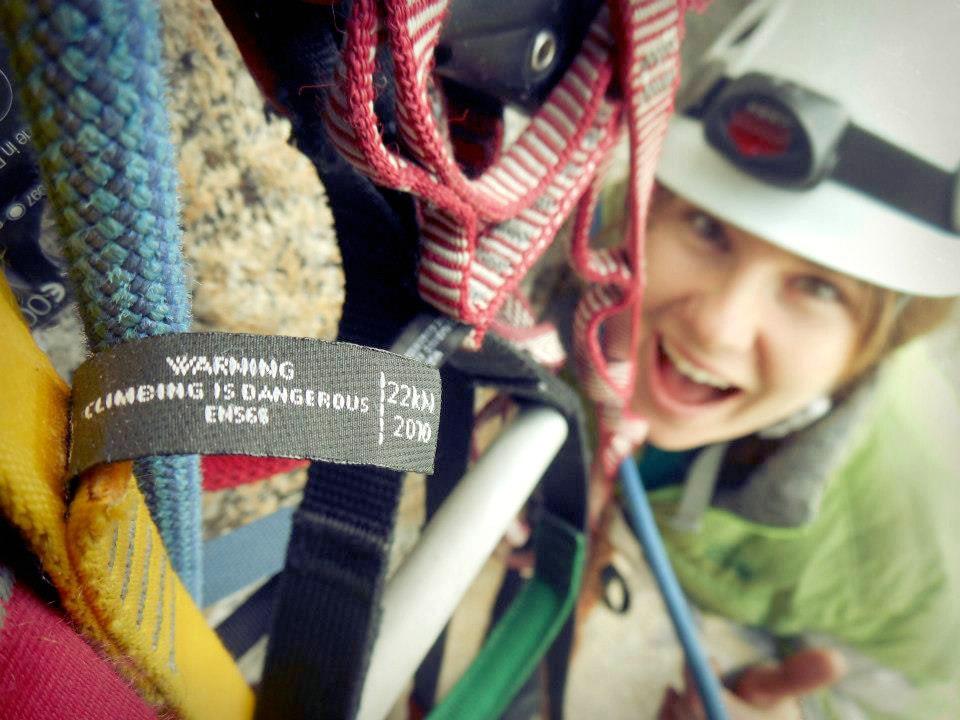
Always prepared for darkness! The Nose, March 2013
Another factor to consider is when you are climbing.
Will it be a weekend? Is it a popular route? If it is, you may be slowed down by other parties and that is another factor to consider when you are planning to climb a route.
Royal Arches on a weekend could see up to 20 people on-route. I would recommend against climbing it on a Saturday unless you are really fast or are comfortable navigating in the darkness.
When you have calculated the time it would take you to safely climb the route and get back to Camp Four for a King Cobra, it’s time to pack.
What to bring
1. Topo
To be safe, print two copies of the entire topo, one for you and your partner. Bring a copy of the approach and descent beta, as well as where to park.
2. Gear: the Standard Yosemite Rack
Rarely is a crack in Yosemite splitter. Having a variety of cams will allow you to safely protect most pitches. I use Black Diamond, Alien, Metolius, and Totem cams. Here is why:
Black Diamond C4s
From #0.5 – #6, BD cams win. They are sturdy, long-lasting, and fit well in Yosemite cracks. As the cracks widen, it’s less important to be attentive to the offset in the cracks. Even if it is a flaring #2 crack, in Yosemite, a regular ‘ole #2 will do just fine in almost every situation.
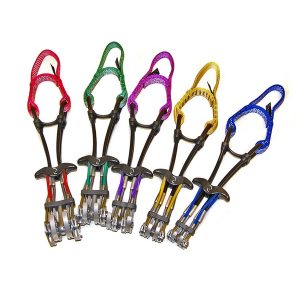
Black Diamond C3s
These cams have a narrow head (narrower than both the Alien and Metolius) and a flexible stem. I use from #00 – #1 (purple to red) unless I am aid climbing. Then, I will add the smallest size, #000. You don’t need that piece for free climbing.
These cams, especially the red C3, have saved my bacon. The red C3 slightly smaller than a #0.3 and seems to fit everywhere in Yosemite. It is a piece I trust and love to bits.
Fixe Aliens
Aliens have narrow heads and flexible stems. For these reasons, I really enjoy having one set of the finger sizes on my rack. Yosemite cracks often flare and have pin scars. Narrow heads allow for better placements in beat-out pin scars and a flexible head allows the cam to stay put when the rope is dragging around; making it is less likely that cams will walk.
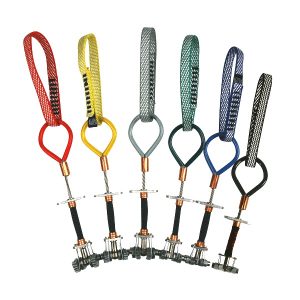
Metolius Master Cams
I use only the smallest sizes of Metolius (grey, purple, blue). These cams have four lobes instead of three, often a quality in tiny cams. They also have a narrow head and slide well into slot placements. I want as much contact as possible with the rock if I am climbing above my gear, and I find that these Metolius cams fit very well in thin cracks and give the most amount of protection for the mind and the climb. I would highly recommend some of these lil guys! They’re now manufactured and sold with the updated Ultralight design.
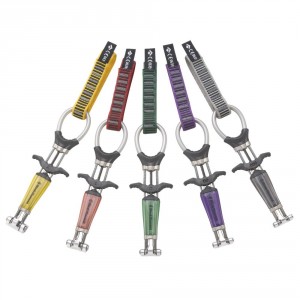
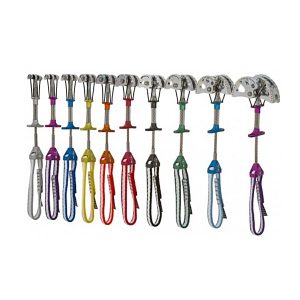
Totem Cams
Totem cams are the latest rage in Yosemite. They were perfectly designed for these walls.
Totem cams are extremely flexible. They bend and twist as well as gumby, which means that they are less likely to walk. They are light and durable, and again, narrow for those flaring cracks. They are even loadable on two lobes! See their website for instructions on this.
These cams are required for every aspiring aid climber, but they are quickly transitioning to becoming the ultimate free climbing piece, too. The drawbacks are that they’re hard to find and expensive. I do not own any Totems, although I would in a heartbeat if I could.
One more thing I’d like to say about the Totems is that I think they’re unnecessary above 0.5 (the BD purple Camalot). The cams above this size are floppy and hard to trigger pull, especially when they’ve been bent. The bigger BD sizes get the job done and retain their structural integrity much better.
Offset DMM Nuts
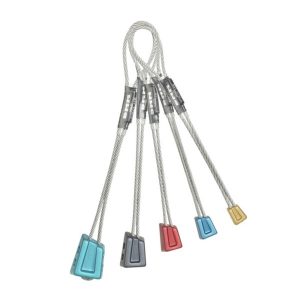
Generally, any full set of nuts will do. If you don’t have offsets, it’s okay, but if you haven’t made too many spendy purchases yet, get these. Cracks are flared. These offsets slither into cracks better than any other nuts I’ve used and they’re as good as any gear placement, and sometimes better! Nuts are your friends, use them.
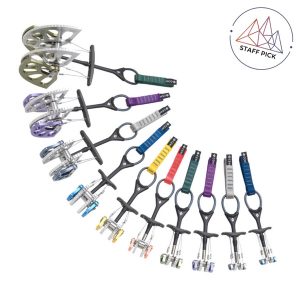
An example of a great Yosemite rack
Winter attempt on Skull Queen, January 2013. We bailed because we were slow.
- 1 gray Metolius Master Cam (00)
- 1 purple Metolius Master Cam (0)
- 1 blue Metolius Master Cam (1)
- 1 green BD C3 (0)
- 1 red BD C3 (1)
- 1 blue BD C4 (0.3) & 1 blue Totem
- 1 gray BD C4 (0.4) & 1 yellow Totem
- 1 purple BD C4 (0.5) & 1 purple Totem
- Double of 0.75 – 3 BD C4s
- Full set of nuts
- Additional gear will be stated on topo
- 12 alpine draws
- 2-3 double length draws
- Nut tool
- ATC Guide or GriGri
- 2-3 locking carabiners/person
- Helmet
- Headlamp (never leave your car without a headlamp)
3. Emergency kit
YOSAR, Yosemite Search and Rescue, is meant to be used for rescues (i.e. someone breaks their leg hiking or on a wall). It is not to be used for user-error and is not a crutch for new climbers.
Try your very best to avoid calling Search and Rescue.
If you forget a headlamp and can’t navigate in the dark, sleep up there. Or just don’t forget your headlamp. It is likely you will find your way to civilization or run into another person in the day. If you get your ropes stuck rappelling, be creative in your efforts to get to the ground.
Even though Yosemite can feel like Disneyland, it is still the wilderness and there are hazards. Please respect the environment and prepare yourself before you embark on your journey.
This is where an emergency kit comes in! Do you best to avoid any emergency situation by being prepared.
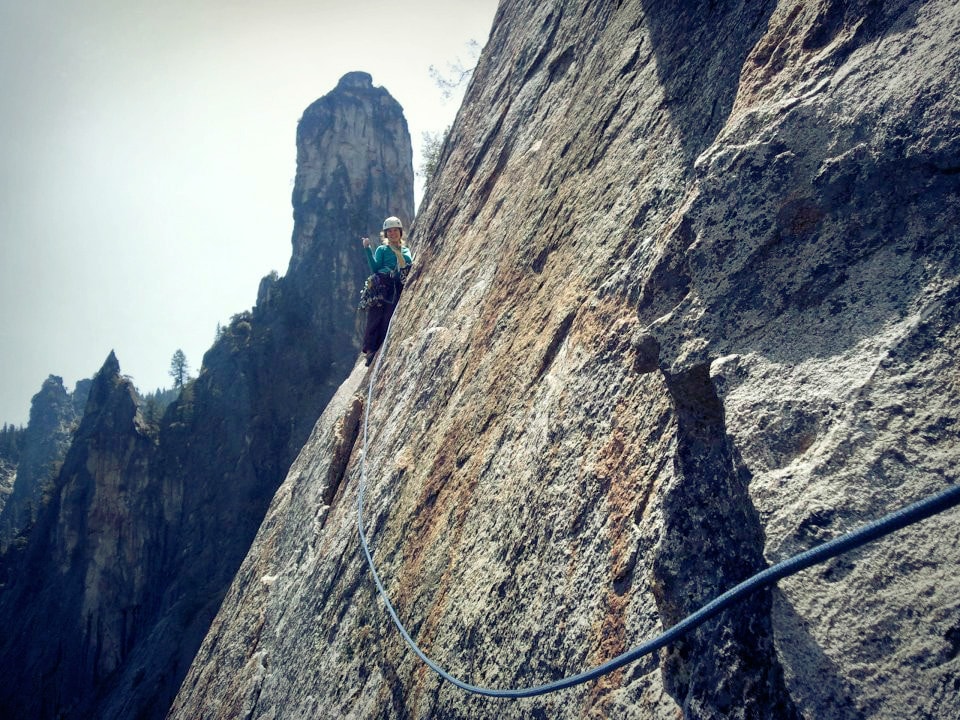
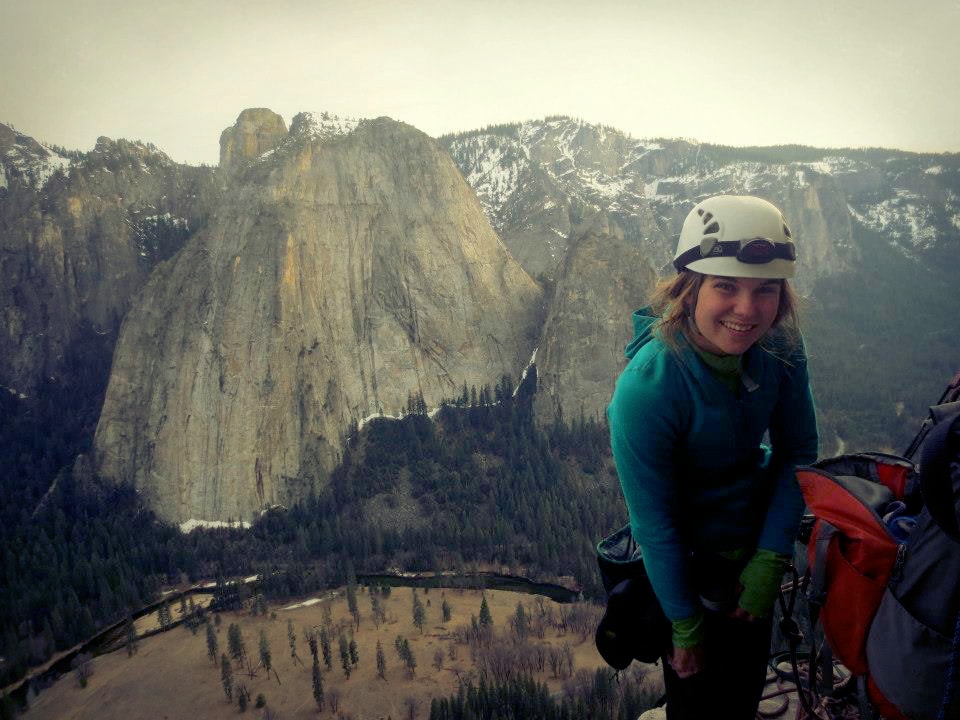
Questing on East Buttress of Middle Cathedral, April 2012. One of my first climbs in Yosemite!
Emergency kit essentials
- Lighter: Stuck on top of a formation and can’t find your way down and it’s freezing cold? Build a fire. Do not build a fire when it’s warm and dry. Spoon your partner if you’re out unplanned. Eight hours of mild shivering never hurt anyone.
- Knife: A knife is super important to be able to cut your rope if it gets stuck or slings if you need to make impromptu anchors.
- Tape: Tape is useful for tending to injuries and rope cutting.
- Prusiks (2/person): Prusiks allow you to ascend a rope if there is a problem and it allows you to safely descend a rope and go hands-free if you need to deal with rope clusters. Rappelling accidents are one of the highest. Safely backing yourself up with a prusik while descending takes a few seconds and it could save your life.
- Extra batteries: If you will be out all day and into the night, you don’t want your headlamp to burn out. Take an extra set of AAA batteries just in case.
- Ibuprofen: Bring a few of these if someone gets injured. Ibuprofen will temporarily relieve pain and reduce swelling.
- Sunscreen: For obvious reasons, don’t get burned!
- Phone: You can get service in most places in the Valley. Having a phone will allow you to call a friend if you need some advice on how to get down or deal with a situation. If it is really, really a dire situation, then you can call SAR, too.
- Emergency blanket: They’re light and it doesn’t hurt to have one. I got nearly hypothermic when I topped out Lurking Fear in a snow flurry in the winter. We spent the entire night out huddled by a tiny fire without any bivy kit. It was then, I vowed to bring an emergency blanket
. Later that year, we couldn’t descend Middle Cathedral in the darkness and we used my emergency blanket to tie us over until the morning. These things do work and will cost you less than 10 bucks!
Doesn’t need a caption. First El Cap route, Lurking Fear, February 2013.
4. Clothing, food, and water
I always prepare myself to spend a night out because I have spent so many nights out! I have had unplanned bivies on top of Mt. Watkins, El Capitan, Middle Cathedral, and in the mountains. What clothing you bring should be dictated by the weather. Just avoid wearing cotton when climbing in general; it doesn’t keep you warm when you’re wet and you will stay wet.
No matter the season, I always bring:
- Patagonia R1: Warmest and lightest technical clothing on the market; I have yet to find anything that rivals this piece
- Patagonia Alpine Houdini: It is water resistant, small, and clips to your harness; it blocks the wind and gives you an extra layer of warmth. (editors note: The Alipine Houdini has been replaced by the Patagonia Stretch Rainshadow)
- Pants: Any pants that aren’t cotton
- Puffy: Optional (depends on season)
- Raincoat (weather dependent)
- Long underwear (always wear in winter and early spring)
- Food: Food is a personal thing. What works for me may not work for you. My suggestion is to count out enough calories for your day and include some extra. When I am climbing all day, I will take 1200 – 1800 calories of food so I never run out.
- Water: Again, water is also personal. I would recommend taking at least one liter per person, maybe two. If it’s hot, bring more water. If it’s cool, bring less. The last thing you want to do up on a climb is get dehydrated! It is no fun.
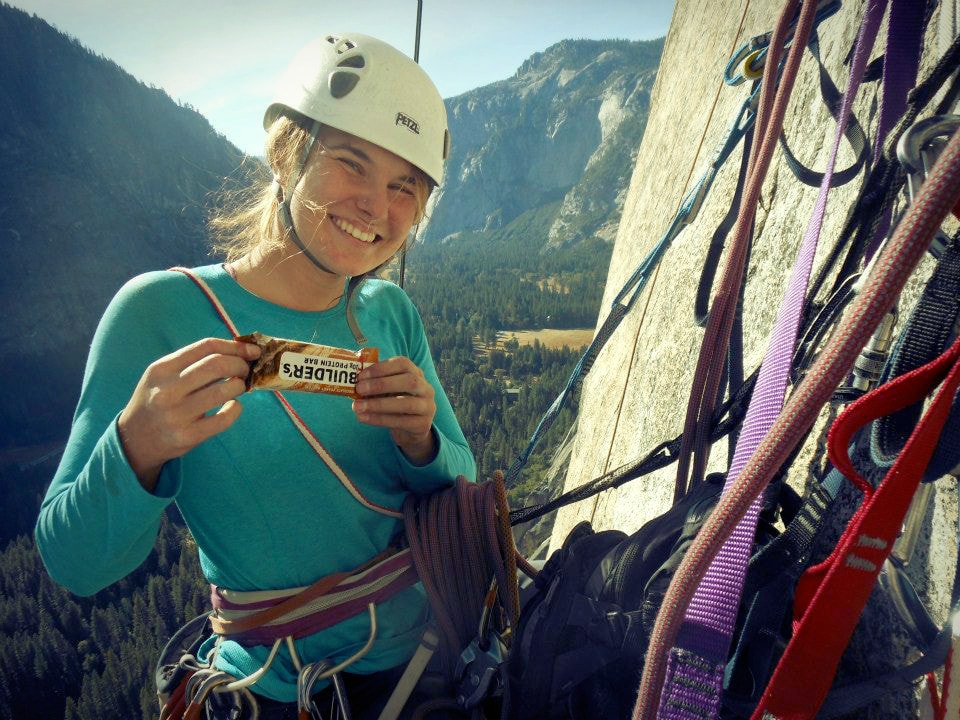
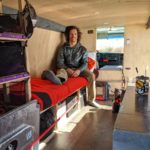
Chillin at a belay on the South Face of Washington Column. October 2012. We bailed on day two because we were slow and brand new climbers.
Go climbing!
Have fun! Take lots of photos! Whoop and holler! Monkey shout!
GET PSYCHED!
Every wall offers adventure! Amidst trying to complete your climb, pause and enjoy those belay ledges and the views. That is really what it’s all about: being outside with friends.
Explore More
Related articles you'll loveThis Week’s Best Rock Climbing Gear Deals
Our 30+ most popular articles ever
How to Build Your First Trad Rack
Multi-Pitch Climbing Tips: How to Rappel If You Drop Your Belay Device
Gear You Ought to Know: A Review of Metolius Ultralight Master Cams
Video: Sasha DiGiulian & Kevin Jorgeson Climb Lost Arrow Spire in Yosemite
The Delicate Dance of Multi-Pitch Passing
Rock Climbing Gear Guide: Stoppers and Cams
Community Discussion: “What’s on Your Rack?”
Video: California Dreamer—Tommy Caldwell & Kevin Jorgeson’s Ascent of Yosemite’s Dawn Wall
Climbing Destination Guide: Yosemite Valley, California
23 Best Gifts for Rock Climbers
Free rock climbing PDFs on technique, training, knots, and more
