All photos: courtesy of Andy Wickstrom
To me, making clay climbing holds is a labor of love.
They are slow to make, physically tiring, time-consuming, fragile—but they are also inspiring, completely one-of-a-kind, recyclable, natural, sustainable and waste-free.
 So like any art, I take the bad with the good, frustrations with triumphs, and just get to ‘making.’
To make a basic hold, I start by throwing a wedged piece of clay onto a solid, plywood-top surface. I begin by slapping a handful of clay into a simple round shape—moving it from hand to hand and rotating it, pressing into a general form. I then throw this onto the table with some force so that it both sticks to the surface of the table and makes a perfectly flat, vacuum seal between the table and clay.
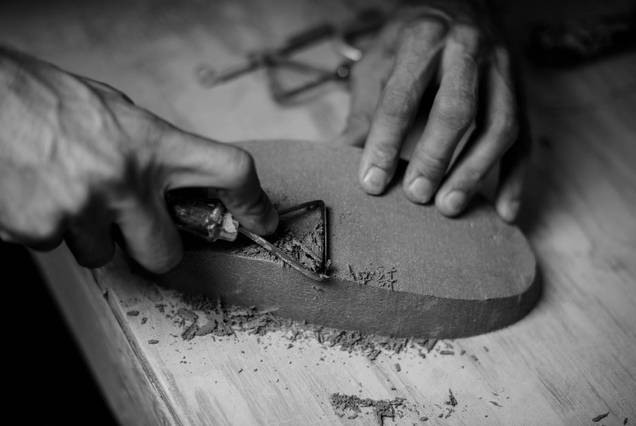
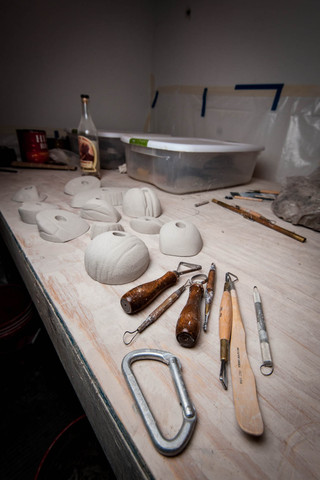
Once it’s thrown onto the table, the clay can be manipulated with a putty knife, wire tool, or your hands.
When I’m satisfied with the general shape and size of the form as is, I make some more shapes and fill the table with several (five to ten) shapes of varying sizes or shapes. If I want them to be a “series,” I’ll keep my methods pretty similar so that they all have the same general style (artistic flair), features (rock-style), or basic geometry (rounded or angular, etc.).
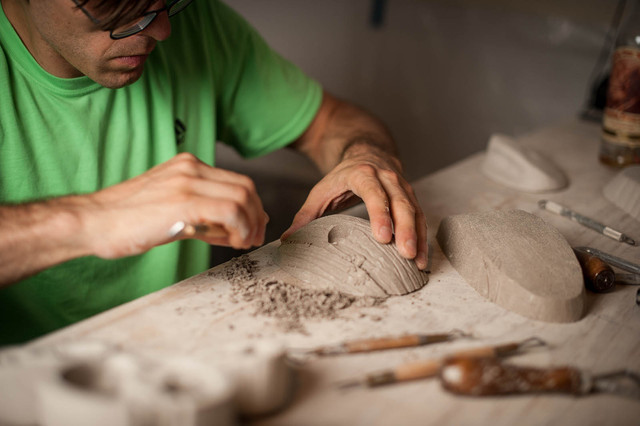
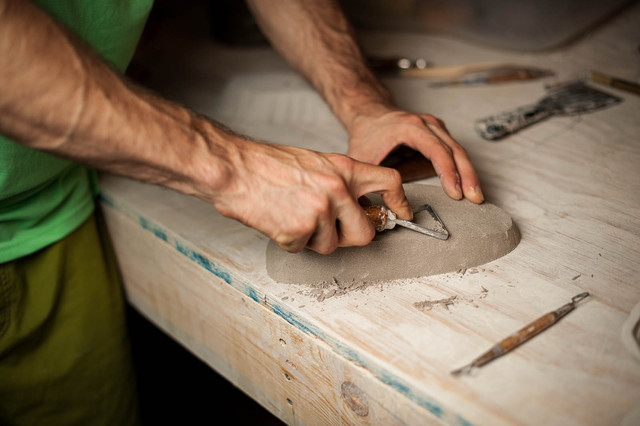


After they’ve dried for a few days, the holds can be easily be unstuck from the table top and placed in a plastic, airtight bin for shaping at some point in the next few weeks. Since my free time is few and far between, I often only have time to shape a few at a time. It’s essential that holds remain in these bins to avoid completely drying out and turning rock hard and recycled with clay scraps. It sucks when they dry out.
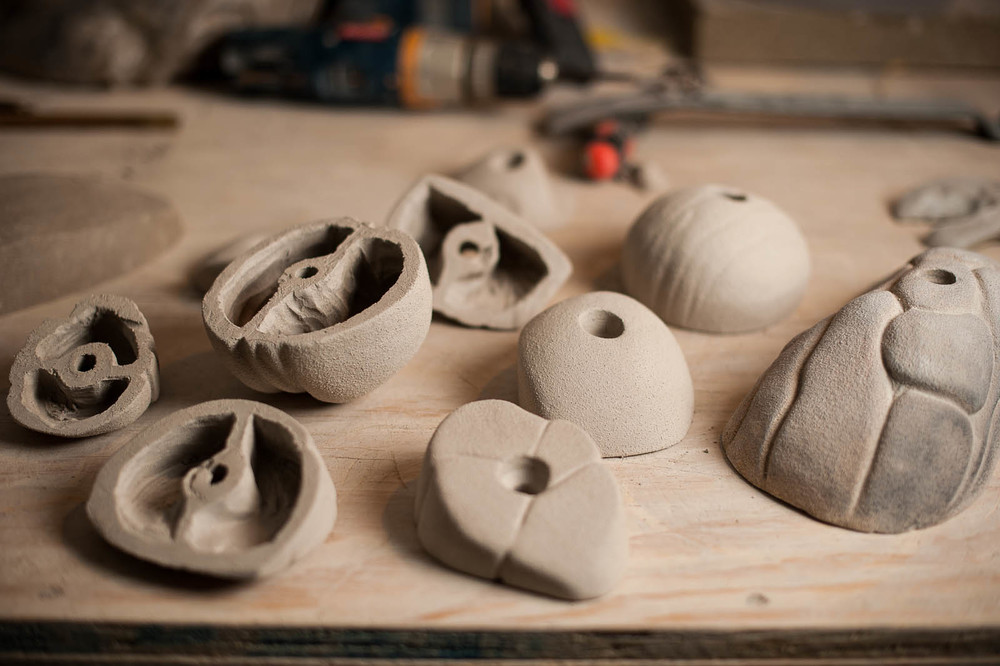
Once I start sculpting, I think it’s perhaps the most fun part. The decisions you make in the first few carves dictate the direction the hold will take. When I have something I’m happy with, I then drill a hole in the middle for the bolt, and hollow the back of the hold. Usually, it’s done in quadrants, which help the hold withstand climbing forces.
Hollowing out the hold also lightens it, and prevents it from blowing up in a kiln. The amount you scoop out is proportionate to the thickness of the hold. Essentially, you want about a .25-.5” thickness throughout.

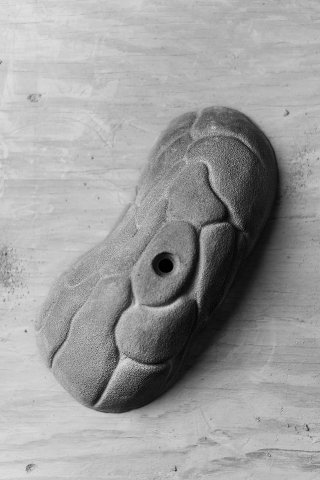
The final step before firing is sponging. This is my second favorite part of shaping, as this is the point where it really makes the hold look amazing.
Once the hold is drilled out, adequately textured with the clay tools, and hollowed out, I use water and a sponge to “weather” the hold. This brings out the texture of the clay itself and softens any marks I’ve made with the metal clay tools. It is essentially mimicking nature and the effect of water on stone. It softens corners, sharpens edges, and makes the holds look natural and much more enjoyable to climb on.
Once this is over, I put the hold very carefully on the table to air-dry until it’s completely white/dried out. This is the final step before firing.


I am a graphic designer, so most of my work begins, and often remains digital. Building clay holds, on the other hand, is my escape from that. It’s nice to trade my digital tools for clay tools once in a while. Shaping also satisfies the feeling I have always had, which is to create things and put them out in the world for others to enjoy. Whether it’s a poster design, a photo or a sculpture, each discipline has its own unique aspect which I really like.
These little objects are both one-of-a-kind sculptures, but ones that you interact with and enjoy with friends.
I can’t think of any other art form I’ve done where this is the case.
This odd little niche of functional art receives so much physical use and abuse. Unlike a lot of handmade objects that I use in my day to day, clay holds are not something that are held gently, and then put back in the cupboard or admired in my living-room.
These are objects we dyno to or crimp down on. We pinch the hell out of them. We sometimes bleed or shred ourselves on them. They take our blood and sweat, chalk and skin. That is why I like making these, and I do it gladly.

This piece was originally published on August 18, 2014.
Explore More
Related articles you'll loveOur 40+ most popular articles ever
Today’s Best Rock Climbing Gear Deals
200+ rock climbing videos
Hold Brushing Etiquette for Indoor and Outdoor Climbing
Featured Photographer: Nayton Rosales
Climbing’s Craft Makers: Documenting the Creativity and People Behind Our Climbing Products
Climbing’s Best Chalk Bags? Introducing STATIC + Moja Gear
Video: The Developer’s Craft — The Process of Pioneering New Routes
The Climb-a-Sutra: More Than Just a Sexy Book (NSFW)
Top 25 Best Rock Climbing Books
Gear You Ought to Know: Review of Tension Wooden Hangboards
Get daily updates by Liking us on Facebook
Free rock climbing PDFs on technique, training, knots, and more

