
When you’re ready to transition from gym climbing to outdoor rock climbing, then sport climbing is the place to start. While sport climbing can seem pretty basic in terms of what gear to bring, having a list for starting out can be extremely helpful. Additionally, there are many things to remember beyond the typical climbing gear that can make the experience much more enjoyable!
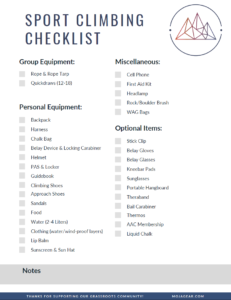
Click image to download your printable checklist.
The Rope and Rope Tarp
For ropes, there are countless specs to consider. Whether you choose to get a dry treated rope (or not) for sport climbing is dependent on the area you are in. Keep in mind, the lifetime of non-dry treated ropes is shorter in the long run. For areas with high amounts of sand, dirt, and dust, the dry treatment is worth the extra cost. Otherwise, if you are super diligent about keeping your rope on the rope tarp, you can choose to forego the dry treatment.
What length of rope should you choose? In the United States, 70 meters is a good length that lets you climb a good majority of routes at many climbing areas. Length can be very dependent on where you are climbing, so do your research. In Europe, 80 meters gives you much more flexibility for routes.
Related Post: Best Climbing Ropes
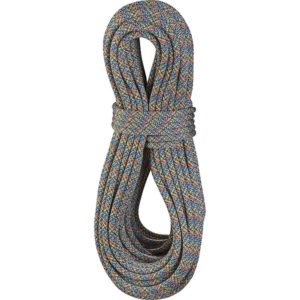
As a good rule of thumb, I approach climbing ropes for sport climbing in the following way: top roping ropes, lead climbing ropes, and redpointing/high-performance ropes. Top roping (top rope) ropes are for those starting out, who mostly climb with the rope already set up on a climb. In this case, the rope is constantly being dragged through the carabiners on the anchor, so it is important to have a durable and thicker rope. Generally, something in the 9.8-10mm diameter range is appropriate. A good option is the Edelrid Boa Eco, which is durable, reasonably priced, and also more environmentally friendly than other ropes.
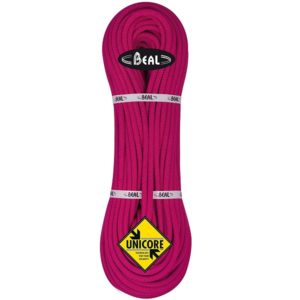
Lead climbing ropes, where you plan on not top roping but will still be hanging on the rope while working routes, can be slightly skinnier in diameter. As a rule of thumb, I generally categorize these ropes as being in the 9.2-9.6mm range. Since you aren’t top roping on these, they still hold up quite well for a long time. A good option is the Beal Stinger 9.4mm. This has been my go-to lead rope for years, having good handling and durability, but being quite stretchy to give a comfortable soft catch. Also, it comes in fuchsia, so obviously, it’s a good rope.
Redpointing/high-performance ropes are the crazy skinny ropes that remind me of bungee cords. These high-performance ropes are used only for sending the route. Think Adam Ondra on Silence; he used an 8.6mm single rope to have the least amount of weight possible. Personally, outside of those who are climbing at the professional level, I don’t see a lot of use of these sub 9mm ropes. They wear out quicker and still cost a lot, so for the beginning/early intermediate sport climber, I would disregard these.
You could choose to not use a rope tarp, but I don’t recommend it. The benefit far outweighs the cost of purchasing one! I recommend either going with an Ikea bag for a cheap but durable option, or the Black Diamond Full Burrito. While many people use rope tarps/bags that you carry outside of your backpack, it can make approaching the cliff cumbersome. If there is any scrambling at all, the rope bag gets in the way and becomes a nuisance.
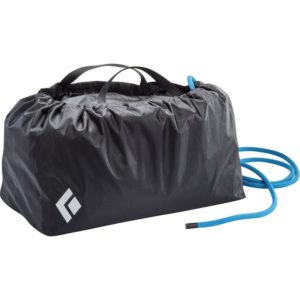
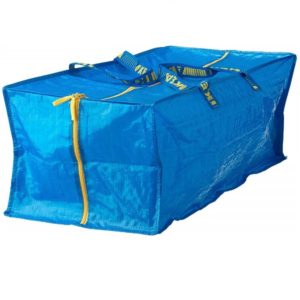
The Full Burrito is my go-to rope bag because it has removed all the superfluous doodads that rope bags come with. I don’t understand why many have all these buckles and added straps. I prefer my tarp to easily carry the rope and roll up efficiently. Of the countless tarps I’ve tried, the Full Burrito is the simplest and fastest to use.
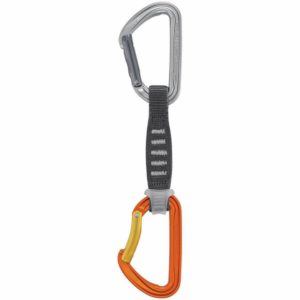
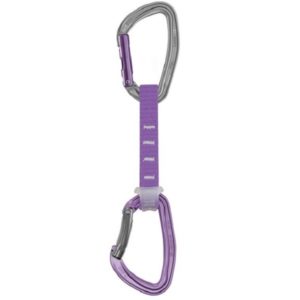
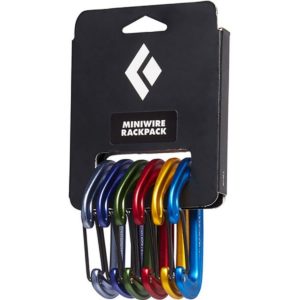
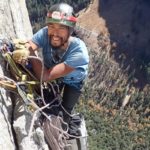
The Quickdraw
Quickdraws are a critical part of sport climbing, as they keep you connected to the wall and therefore can keep you from dying. The number of quickdraws necessary for a route is dependent on a large number of factors. First, how long is the route? If the climb is only fifteen meters long, you won’t need that many draws. However, on the monster-long routes in Europe that are forty meters, you’ll obviously need a handful more. Another large factor that plays into this is the bolting style of the area. For example, in Montana there are plenty of sport climbing areas that have been developed by different people. Allenspur, for example, has bolts roughly every seven or eight feet. For a seventy-foot route, this means ten quickdraws plus two more for the anchors. However, the Magic Wall area has bolts every twenty feet. This area is notoriously run out, with 115-foot routes needing only eight quickdraws for the anchors and the route. With such a variety in the number of quickdraws required, it is hard to know how many to bring. Generally, I bring about eighteen for a day of sport climbing at a taller cliff. This allows me to leave quickdraws on my project (a route I will try multiple times before getting to the top in one try) while also having enough quickdraws left over to try a few other different routes for warming up. Given that my partner will also have a handful of draws, we can still do really long warm up routes and keep our draws on individual projects. Eighteen is on the high end of quantity needed. If you bring twelve, that should be more than sufficient for many areas. If your climbing partners don’t have any quickdraws and you want to know how many to bring, check MountainProject.com or thecrag.com to see if the number of bolts per climb is listed. You can also buy a guidebook of the area or head down to the local gear shop for the area and ask them if they know roughly how many quickdraws are needed for certain crags.
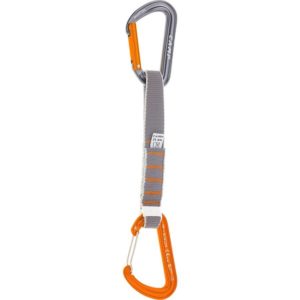
Preference for quickdraws varies greatly. Some rock climbers really enjoy clipping wiregate quickdraws, and other climbers prefer to clip bent gates. Two great options are the CAMP Photon Mixed Express Quickdraw, which has phenomenal clipping power in a light package, and the Petzl Djinn Quickdraw. Many high-end sport climbers prefer the Petzl Spirit, however I personally find that the Djinn clips better and is a little more durable in the long run. Also, the Petzl Djinn now comes in purple, so it’s kind of a no brainer, really!
Personal Climbing Equipment
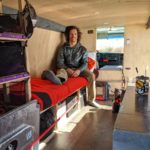
The Backpack
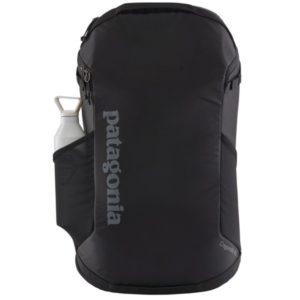
While any old backpack will do for shuttling your equipment to the cliffside, there are some features of specific crag packs that will make your experience much more enjoyable. For starters, a great crag pack tends to be 40 to 50 liters in capacity. The main difference from other backpacks is having access to the main compartment through a duffel-like closure. Two great options are the Patagonia Cragsmith 45L Pack and the Petzl Kliff Pack.
The Patagonia Cragsmith is my favorite pack of all time. Outside of climbing, I love it for travel, as it fits the carry on limits for many international flights. For climbing, the features are fantastic. It holds its shape even when empty, which makes loading and accessing the pack much easier. You can load this backpack like a normal backpack by simply shoving all your gear in through the top, or, like many crag packs, you also have accessibility through the back panel. The benefit of this at a crag is that you can easily maintain your stuff in an organized manner, instead of having all of your kit spread along the base of the cliff. At busy climbing areas, it is important for both safety and efficiency to stay out of people’s way and move between climbs more easily. The Cragsmith carries gear comfortably and can easily fit all of your equipment in the pack, making it my favorite for sport climbing.
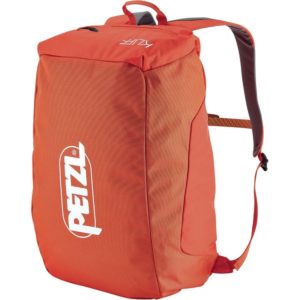
The Petzl Kliff is a cheaper option, although there are some tradeoffs compared to the Patagonia Cragsmith. One is that the back panel of the pack has the access zipper going directly down the back, which leads to a less comfortable carry. Pair this with the fact that the pack lacks a hipbelt, and heavier loads will be a bit uncomfortable. For short approaches, like the roadside climbing in Red Rocks Nevada, this isn’t too important. However, if you’re schlepping your gear up to Ceuse, France or choosing to forego renting a scooter in Kalymnos, Greece, this will make your back lose motivation to climb once you reach the crag.
The Harness
Obviously, you’ll bring a rock climbing harness. Sport climbing free soloing isn’t a good idea. There are harnesses made specifically for sport climbing to look into, but don’t feel like you need to have this in order to go on a sport climbing trip. A sport climbing harness is generally a bit lighter than your typical beginner harness, and has nonadjustable leg loops and gear loops. They tend to be a bit smaller than a trad or alpine harness. The main thing to focus on is finding a harness that fits well and is comfortable, since people spend a lot of time falling and hanging in their harness when sport climbing.
Read our review of the Best Climbing Harnesses
Chalk Bag
For climbing with your greasy, sweaty fingertips, you’re going to want a chalk bag. And for tick marks. Tick marks are marks on the wall which point to the next hold to provide guidance on a route. Remember to brush off your tick marks once you’re done!
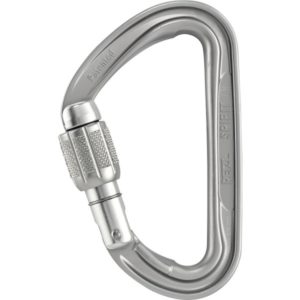
Belay Device and Locking Carabiner
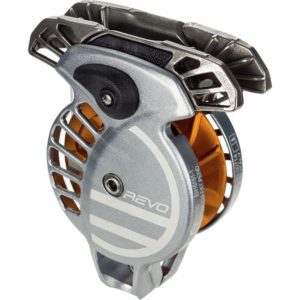
In this day and age, if you are sport climbing, I see absolutely no reason why you should be using a tubular belay device. Some sort of assisted braking device should be used, whether that is a GRIGRI, a Revo, or the Black Diamond Pilot.
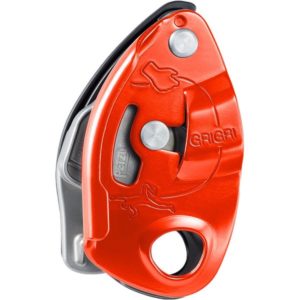
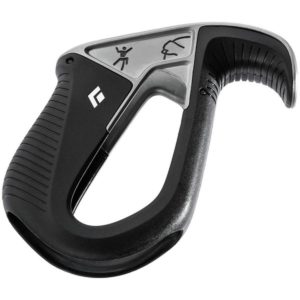
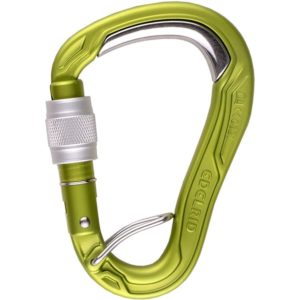
For locking carabiners, many sport climbers prefer auto-locking carabiners. This can be nice for making transitions quicker and simpler, but is certainly not necessary. Something to consider is investing in a non-crossloading carabiner, especially if you are using a device like a GRIGRI, where the weight can lead to crossloading much easier. For a device like the Black Diamond Pilot, make sure to get an HMG style carabiner that has a wide stock for the rope to run over. The Edelrid Bulletproof HMG non-crossloading carabiner is a good option and, while slightly more expensive, will last a lot longer than a normal locking carabiner.
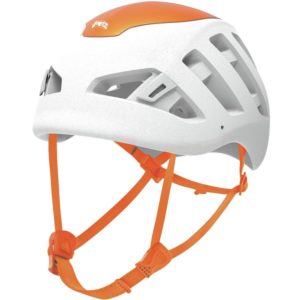
Helmet
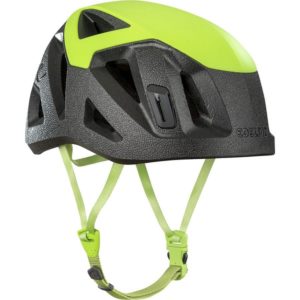
Some people choose to not bring a helmet to the crag. While this is a very personal decision, there are a couple considerations to think about. At the top of the list, I think it is worthwhile to bring a helmet when you go to new areas. If the area is unfamiliar to you, you may not know how loose the rock is, or what lies above the cliff. Just because an area is popular does not mean that rocks don’t come down frequently. If scree fields exist above the crag, then in early spring you can easily get showered by rockfall. Given how light helmets are nowadays, I see no reason why people shouldn’t bring them to the crag. The Edelrid Salathe Climbing Helmet and Petzl Sirocco Climbing Helmet are two examples of a really light, simple helmet that won’t make your pack much heavier.
Check out our review of the Petzl Sirocco Helmet
PAS/Locker
To clean the climb when you’re done. Make sure the locking carabiner is a thin enough to fit through chainlinks at the top of a climb. The Petzl Spirit is a solid, affordable option.
The Guidebook
While Mountain Project does work, investing in a guidebook for your climbing destination is a good idea. You get a stronger sense of the area from a solid source. Nowadays, many guidebook publishers have a portion of their profits go toward anchor replacements, so you can feel good about supporting them. Since you’re climbing at the crag, you might as well give back in some way! If the guidebook helps support the crag, purchasing one is a good step in beginning to be a contributing member of the climbing community.
Footwear
Climbing Shoes
When I go sport climbing at an area with a large degree of variety (from overhanging climbs to longer, vertical tech fests), I prefer to bring two pairs of shoes. Since sport climbing usually isn’t on a remote alpine face, it isn’t necessary to worry too much about weight on the approach. Thus, I almost always toss in two pairs of shoes. A stiff, edging shoe and a medium, softer shoe are two good options for an area with diverse types of climbing.
Obviously, Moja Gear has the best guide for the Best Climbing Shoes on the internet.
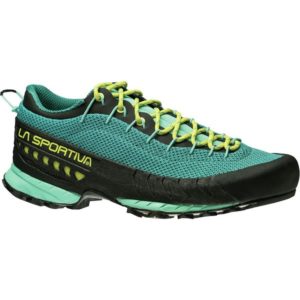
Approach Shoes & Sandals
Any old trail runner works for getting to the crag, so wear what is comfortable for you. If there is a lot of scrambling, it can be nice to have an approach shoe to be a little more confident over rock. A good, light pair is the La Sportiva TX3, which still breathes like a trail runner while giving a much better grip on rock. However, I would say that approach shoes are not usually critical for sport climbing. If you want some options, we have done the legwork for you in our Best Approach Shoes Guide.
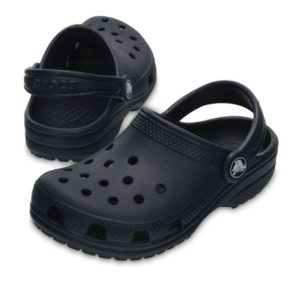
If you like a bit of comfort and ease, having a pair of sandals to wear at the base of the cliff can be nice. However, keep in mind that while belaying, it is easy to get thrown around when climbers fall. Open toed shoes can lead to dragging your toe knuckles across the ground, across the cliff, and getting slammed into just about anything. I don’t recommend flip flops as a sandal of choice for this matter. Honestly,Crocs are a great option. They are easy to put on and protect your toe bits. You can easily find a pair that matches your purple quickdraws or fuchsia rope, as well.
Food
Sometimes I think that I go sport climbing mainly to eat food. The day always turns into half climbing and half eating food. I personally prefer to bring a lot of little light foods, like a bag of almonds and a bunch of fruits, and pair that with a bunch of heavier, substantial foods like a baguette, cheese, and a big salad. Go overboard and share. A great way to convince someone to patiently belay you on your mega-proj is bribing them with a massive, American sized bag of Sour Patch Kids to munch on at the same time. Plus, you have to celebrate the send somehow.

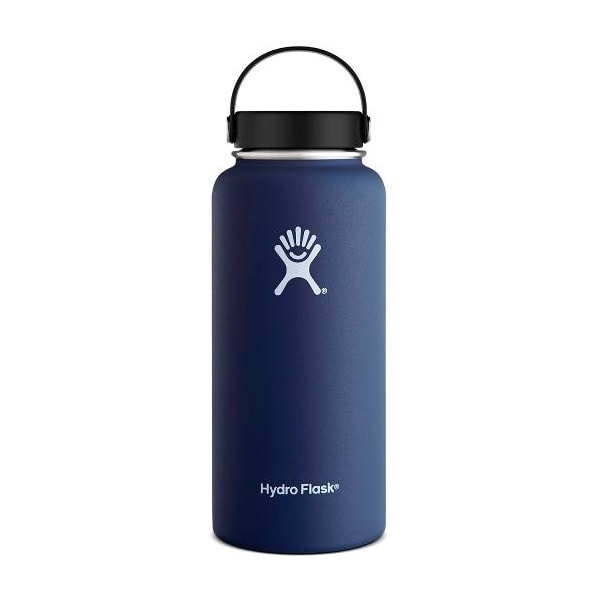
Water
For water, in Montana where it doesn’t get that hot, I generally bring two liters of water. When it is hot, I bring three to four liters. Cranking on tendons works a lot better when they are happy, so do what you need to do to feel and stay hydrated.
Climbing Clothing
A good rule of thumb with clothing is to pack for colder temperatures than you’re expecting, and in layers. If it is July in Ten Sleep, Wyoming I’ll still generally bring a warmer insulating layer, a light rain shell, and a beanie, even if it isn’t expected to be windy or rainy. Throwing in a light puffy isn’t a bad idea either, as it will help you stay warm while belaying and resting between climbs. The shade at the base of a cliff can make it feel much colder than being in the sun just feet away. When the temperature drops, I go all out: a big belay parka, a down vest and base layer to climb in, extra mid-layers, sometimes hand warmers, sometimes a small stove to heat up water to make tea. Again, pack for colder temperatures than you’re expecting and for worse conditions than you think you’ll have.
Getting a good pair of climbing pants is crucial for comfort and getting the send. Think: stretch and scrape protection.
Read our review of the Best Climbing Pants for men’s and women’s options.
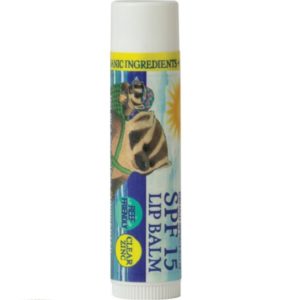
Lip Balm
Other than alpine climbing, nothing chaps the lips more than sport climbing.
Sunscreen and Sun Hat
Sunscreen isn’t a bad idea to bring, especially while climbing in the sun. Personally, since I don’t like the greasiness of applying sunscreen, I bring a sun hoody instead. Paired with a good hat, I’m still able to keep the sun off me all day.
Miscellaneous Bits
Cell Phone (and apps)
Doing far more than just getting another butt shot for your Instagram, your cellphone has a lot of use in sport climbing. You can set timers to remind yourself how long to rest in between attempts. You can check who’s done the route recently (Mountain Project & Rakkup) and see what other climbs look good. When you get lost approaching the cliff, you can use Gaia to make sure you get back on track. If your partner decks, you can hopefully call Search & Rescue if you have cell service. You can quickly check the weather (ClimbingWeather) to make sure it isn’t going to rain on you at the crag.
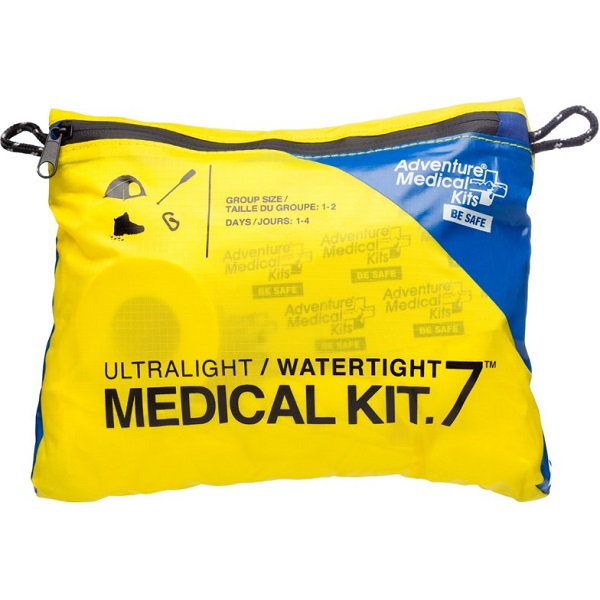
First Aid Kit/Athletic Tape
Things can go wrong when sport climbing, so just like with any other type of climbing, it is important to bring a first aid kit. At the very least, flappers (skin tears) and protecting from sharp pockets is necessary with athletic tape. Your first aid kit should include: blister kit for longer approaches, trauma equipment (gauze, trauma shears, Quickclot, SAM splint, tape, many pairs of gloves, ACE bandages, etc.), ibuprofen, aspirin, Benadryl, tampons (your friends who need them will be grateful even if you never will), Band-Aids, a space blanket or SOL bivy. Obviously, none of this will do any good if you don’t know what to do with it. Take a WFA (wilderness first aid) or WFR (wilderness first responder) course,–you won’t regret having the experience if something happens.

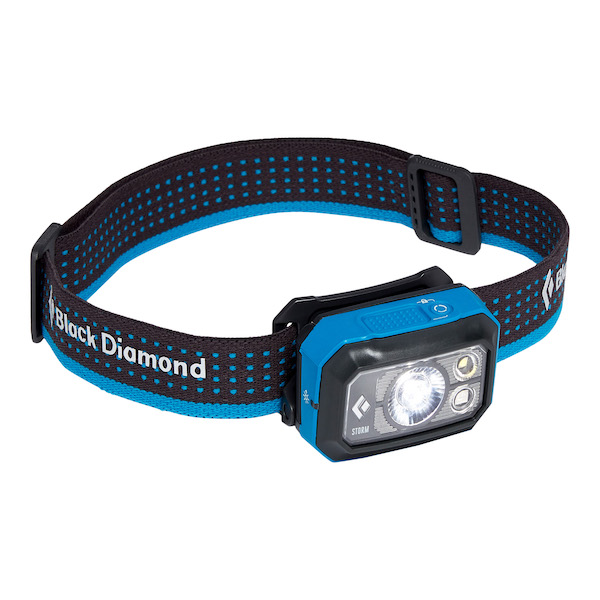
Headlamp
It may seem superfluous, but most experienced climbers have been on the wall cleaning and hiking back to the car in the dark. You’ll be glad you included a headlamp as dusk settles in. Even with crags close to the road, you never know when you might be in for a long night.
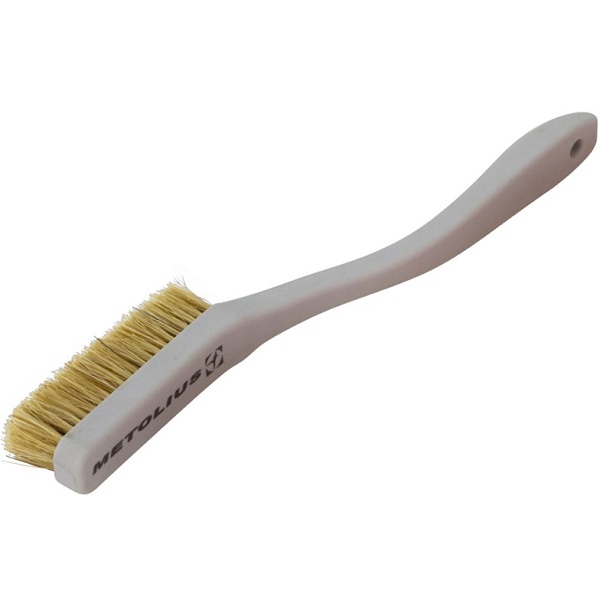
Brush
Be the considerate person and clean holds. Not only will it be easier for you to send your project, but others will appreciate not having to desperately claw their way through your post-pizza grease fest.
Read our Guide to Brush Etiquette.
WAG Bag
I’m no longer in favor of digging holes to go number two. Especially at crowded climbing areas, the amount of traffic makes the amount of poop disgusting. People don’t dig proper holes, dogs like to uncover bowel movements, and rocky, craggy terrain doesn’t lead to an easy place to properly follow “Leave No Trace” principles. Bring a WAG bag and carry it out. It is the considerate thing to do, and others will appreciate it. Places like Red Rocks, Nevada actually have WAG bags available to help with enforcing Leave No Trace principles. Use them!

Optional Pieces
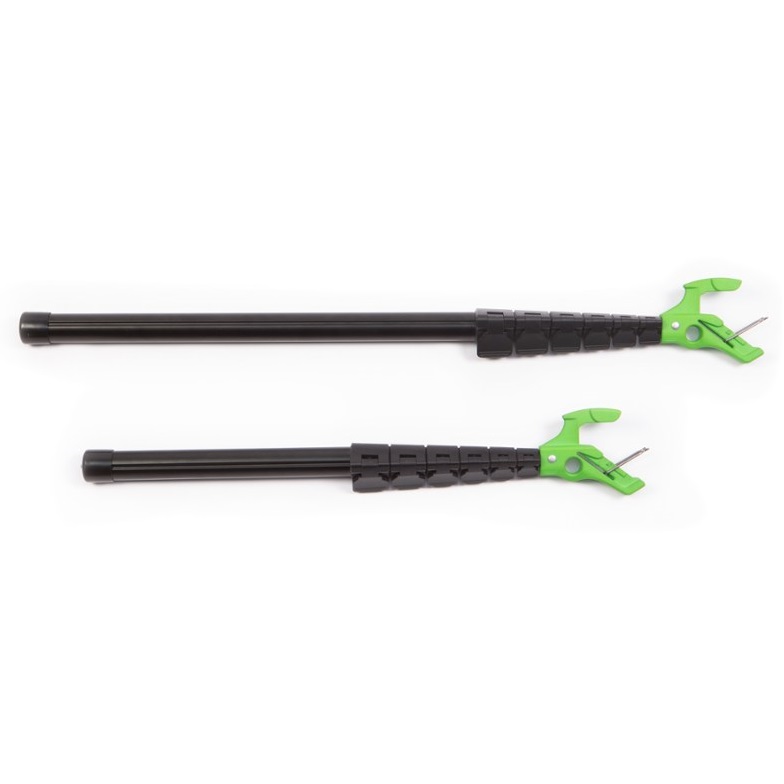
Stick Clip
It is a lot easier to use a stick clip than try to climb with broken ankles. I used to be fully against stick clips, until I used them. This is the norm for many people. And no, it doesn’t take away from your send. Just ask the author who wrote “To Stick Clip or Not To Stick Clip” and you’ll know why.
See Moja Gear’s Dirtbag Tricks: Stick Clip Guide
Belay Glasses
I used to be against belay glasses, until I used them. At first, they are awkward and don’t seem worth it. But once you are comfortable using them, your neck will love you. It is a lot cheaper to buy a pair of belay glasses than it is to go to a chiropractor after every climbing vacation you take. At first, try an inexpensive pair that you don’t mind scratching up. They’re an investment, but Moja Gear recommends the PitchSix EyeSend Adjustable Belay Glasses, hands down!
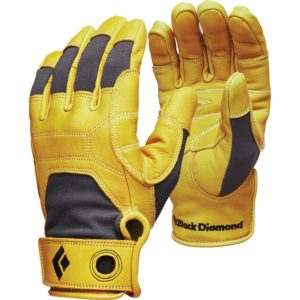
Belay Gloves
It is surprising how much easier belaying is with belay gloves. Lowering people when it is hot is much more comfortable when your hand isn’t burning. Also, aluminum poisoning isn’t cool, and while I don’t know any climbers who have gotten sick from belaying, the amount of aluminum that gets on your hands can’t be good for you. A cheap option is: any leather work glove from the hardware store, but I personally prefer the Black Diamond Transition Glove. I find they hold up a lot better than the Petzl ones.
Kneebar Pads
If you’re a true sport climber, you’ll kneebar everything in sight. Send Climbing makes some great knee pads for rock climbing.
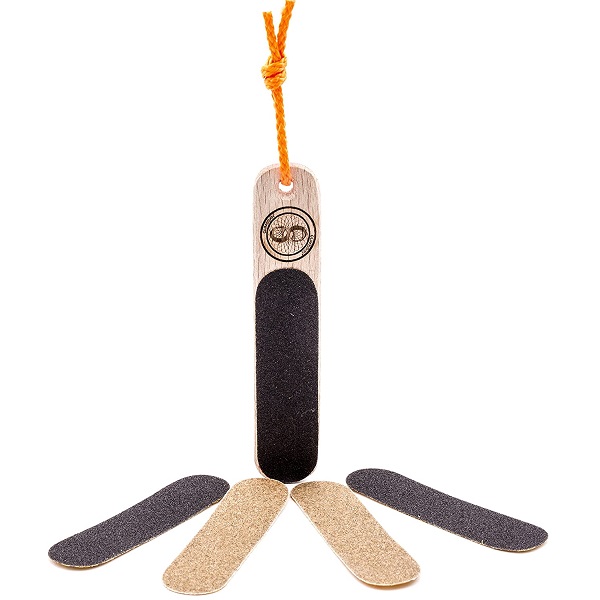
Skincare Kit: clippers, tape, razor blade, hand cream, lip balm, skin file
Other than the athletic tape, the skincare kit is definitely an optional set of gear. However, sport climbing can be really rough on your skin and being able to file away small tears and flappers can make a huge difference for a longer trip.

Sunglasses
I don’t like wearing sunglasses while climbing, but while belaying and approaching the cliff they can be nice. There is no need to get the most expensive pair you can find; any old beater sunglasses work well enough to approach a shady crag.
Portable Hangboard
It can be hard to properly and fully warm up before climbing, especially in areas that are stacked with hard climbs and have only one warm up climb. Using a hangboard can help you get those digits ready to crank a lot faster and safer than going bolt to bolt on your project. Trust me, I’ve had seven finger injuries in the past three years because I didn’t do this.
The Metolius Wood Rock Rings Training Holds are lightweight and compact.

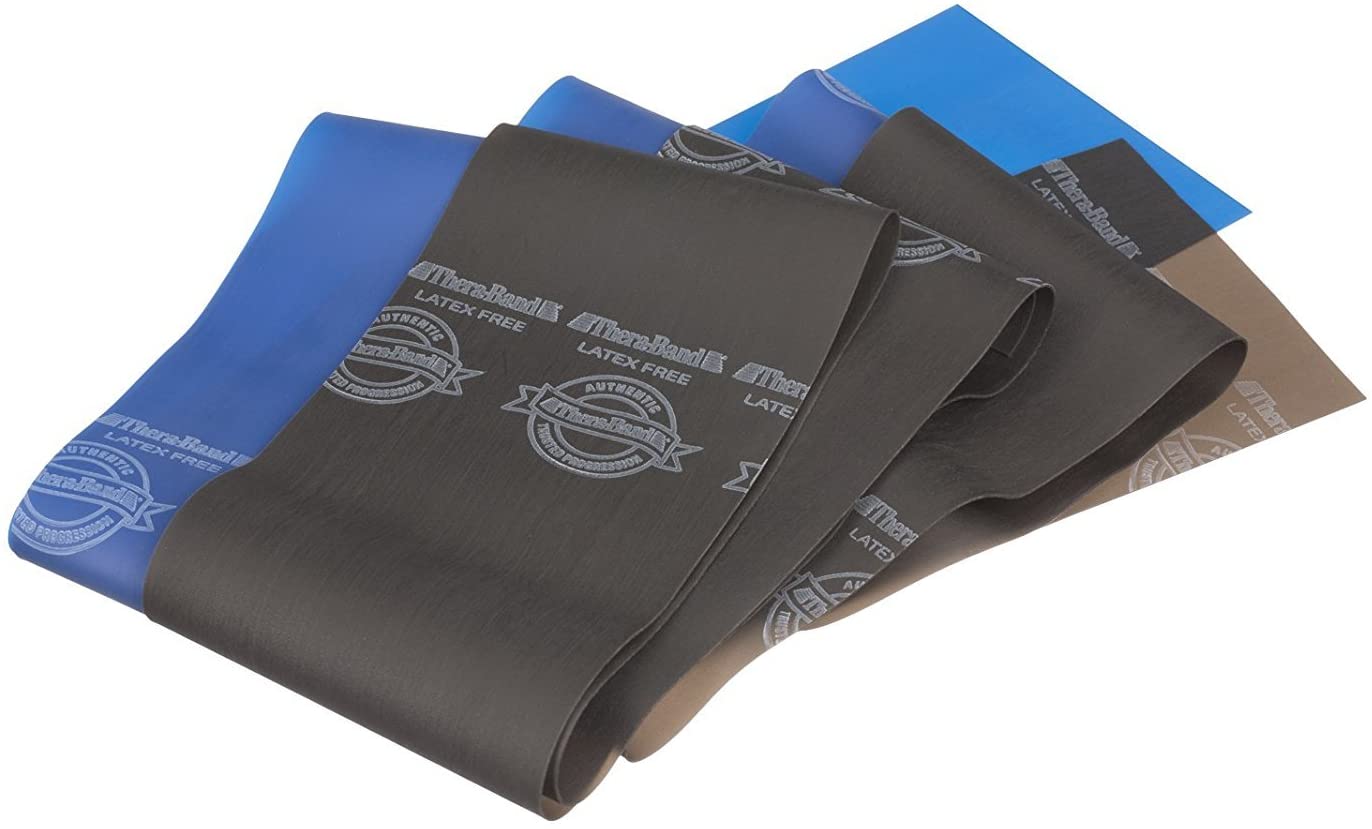
Theraband
To warm up your shoulders and your fingers (check out this video of Clare Buhrfeind doing a good theraband warm up), tossing a theraband in your pack can be great way to prime your muscles and guard against injury.
Bail Carabiner
Some people enjoy bringing along an old beater carabiner to bail off of if they can’t finish a climb. However, I personally don’t. I’ll either leave the top carabiner from a quickdraw, or more likely, I’ll stick clip my way to the top of the wall to bail.
Thermos
When it is cold, warming up with a mug of tea before hopping on a very cold wall can make a huge difference.
American Alpine Club Membership
The AAC membership has, among a ton of other things, rescue insurance. People argue that sport climbing is safer than other styles of climbing. However, that complacency can lead to accidents. If you need to get rescued from the cliff, you’ll be happy to have that rescue insurance.
Liquid Chalk
In really balmy, humid areas, liquid chalk as a base can make the friction seem much higher. Drier areas like The Fins in Idaho probably won’t require liquid chalk.

What Not to Bring
A Bad Attitude
Nobody wants to listen to you swear and pout at the cliff. It is just climbing, after all.
Speakers
For many reasons, I think speakers are a horrible idea at the crag. Sure, if you can guarantee that just your group will be at the cliff, then I guess it is okay. Most people won’t appreciate your music the way you do, though, and it makes communication a lot harder. Nothing like “Call Me Maybe” playing in the background to make it harder to hear whether your partner just yelled “Slack” or “Take.” You don’t want to be responsible for ruining their send by pulling them off the wall. I’m all for music to get psyched before redpointing, just maybe use headphones instead.
Trash
I guess bringing trash is ok, if you pack it out. Better yet, bring a small trash bag with you and make a goal of filling it every time you are out climbing to help clean up the crags. WAG bag, people.
Explore More
Related articles you'll loveGear Guide: Best Climbing Ropes
Gear Guide: Best Climbing Shoes
Our 30+ most popular articles ever
Get daily content updates by Liking us on Facebook

