
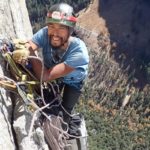
Ever wondered what big wall climbing is or how to learn how to climb a big wall? Big wall climbing involves climbing a route that typically requires more than one day to climb to the top. Being on the wall that long requires not only a high level of fitness and skill but also expertise in hauling gear and sleeping on the wall in a portaledge.
Join Miya Tsudome, Professional Yosemite Guide as she leads us down the path the big wall rock climbing.
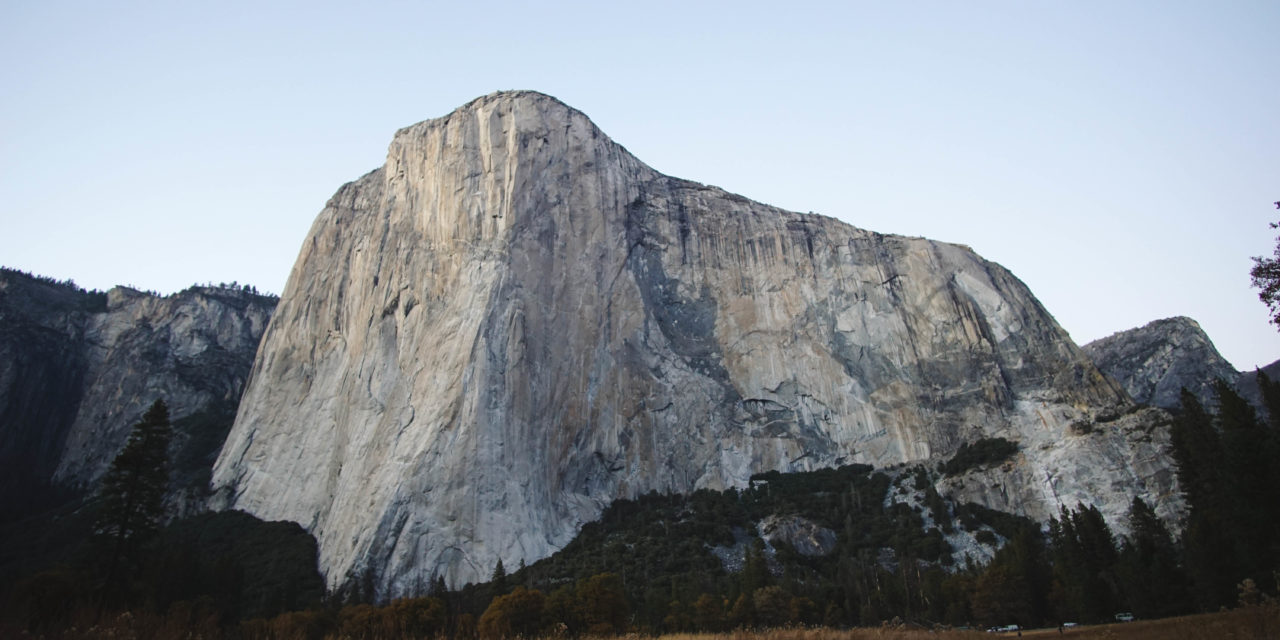
You’re climbing in your local gym, and there is inevitably a photo of El Capitan somewhere. As you do your bouldering circuit, you look up at that photo and think, “that’s something I want to do someday,” as most climbers do. You look in a guidebook and realize The Nose is only 5.9! Whatever that “C2” thing means next to it you’re not quite sure, but 5.9! You already lead climb 5.11 in your gym, it’s totally within your capabilities!
I’m here to tell you that while it’s not that simple, it is very possible. The path to climbing a big wall, in Yosemite or elsewhere, is a lot more involved than being able to climb 5.9. But through a series of articles, I will tell you what it takes to get there, and then you too can sit back in El Cap meadow after it’s all said and done, looking up at the Boot Flake and the Great Roof, knowing that you’ve been where many dream of going, and where climbing history was made.
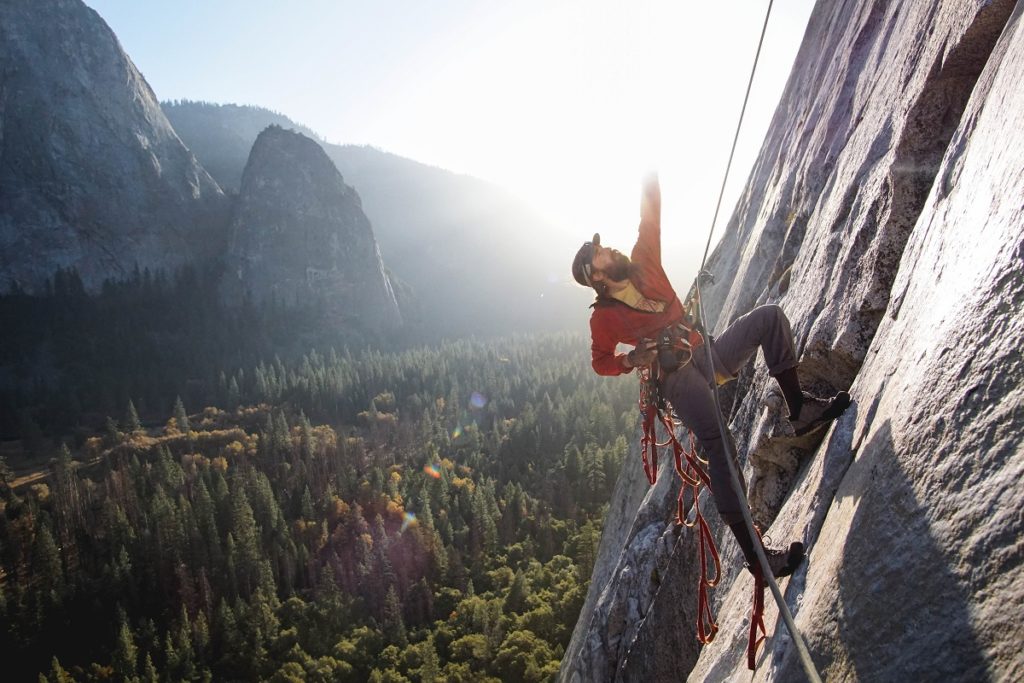
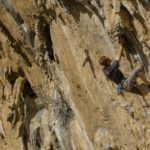
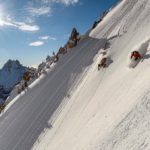
Taylor Sincich big wall climbing El Capitan in Yosemite Valley. Photo by Miya Tsudome.
How to Climb Big Walls Step One: Learn How to Lead Traditional Climbs
If you’ve been lead climbing primarily in a gym, then sport climbing is probably what is most familiar to you. And while being able to top rope 5.12 indoors is certainly useful in building important climbing technique and strength, my first piece of advice for you is to find someone who has a trad rack and knows how to use it, and then go climb as much 5.8 and 5.9 crack climbs outdoors as you can manage. If you’ve never crack climbed before, focus on top-roping and figuring out the technique. This is crucial if you want to climb big walls in Yosemite — knowing how to hand jam, how to lie back, and how to use your feet in cracks will propel you up The Nose quickly and efficiently, and the 5.9 grade means you must be competent on Yosemite-style cracks which are notoriously sandbagged and old-school, so it would be even better to be confident on 5.10 crack terrain at your local crag.

To prepare for big wall climbing you should top-rope as many crack climbs as you can. Make it a habit to look at how the gear is placed as you remove it, and focus on honing your crack climbing technique.
Big wall climbing grades
Let’s dive further into the grading of big walls. The normal, YDS grade you are used to, which in the case of The Nose is 5.9, refers to the hardest, mandatory free-climbing you will encounter on route. The “C2” after is the aid climbing grade. In aid climbing, there is a
“C” scale and an “A” scale. The “C” stands for clean aid — which means you will not need to hammer in any pitons or other metal to ascend the route. The “A” stands for aid — which means you will likely need to hammer in pitons, beaks, and other types of specific aid-climbing paraphernalia à la Warren Harding and Royal Robbins. The numerical grading goes from 1 to 5, and is a scale that is basically a measure of how messed up you’ll get if you fall on your gear – 1 meaning the gear is all bomber and you’ll be fine, 2 meaning you may have to place a micro nut or two before you get in a solid piece but are still within the safe zone, and 3+ meaning you might be placing suspect, body-weight only gear for a while that if it doesn’t hold, would take you for a long, probable bone-breaking ride. Sounds fun, right??
Related Post: Understanding Rock Climbing Grades
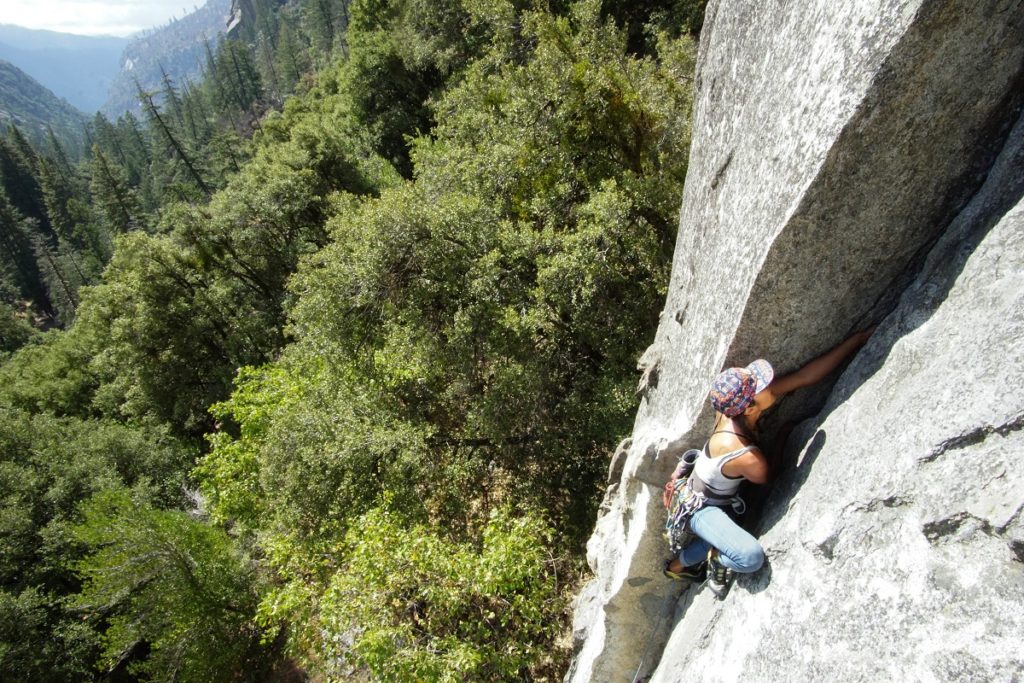
Merryn makes casual work of the beautiful hand jams section at the top of “Sherrie’s Crack” (10c), a Yosemite classic.
How to Climb Big Walls Step Two: Learn How to Place Gear
Anyways, back to Step One. Once you’ve top-roped as many crack climbs as you can, now it’s time to learn how to place gear. This is the essence of aid climbing, and if you can place good gear quickly and efficiently, you will be well on your way. Have a mentor who can check your gear for you to make sure your placements are good, and work your way up from leading routes way below your limit, to the golden 5.9 grade, and preferably, beyond. If you can become a confident, mid-5.10 trad leader before you arrive in Yosemite, not only will you be able to climb a big wall, but you’ll be able to climb many of the classic free routes that can’t be missed.
Related Post: Build Your First Trad Rack
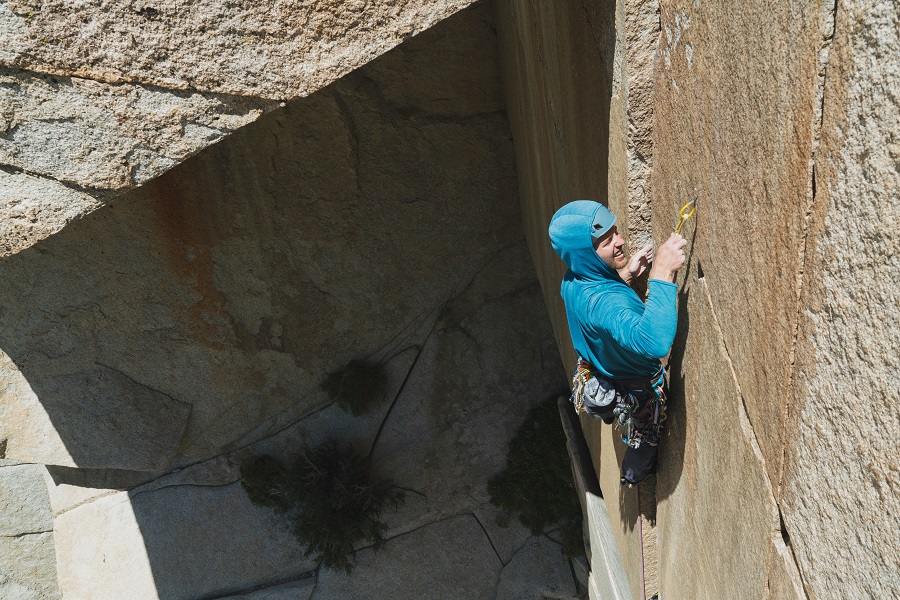
Placing good gear is the key to aid climbing – learning to grab the right size piece for a straightforward crack every single time will benefit you greatly, so you can save your tinkering for the tricky small placements.
Check back in soon for the next article in our series, “Path to Big Wall,” where I will explain the next logical step you should take if you want to climb something like The Nose on El Capitan: multi-pitch climbing.
Want more climbing content? Get our awesome climbing newsletter, delivered weekly.
Explore more
- Top 25 Books for Rock Climbers
- How to Build a Trad Rack
- 10 Common Mistakes Beginner Big Wall Climbers Make
- Climbing Rope Management During Rappel
- A Beginner’s Guide to Aid Climbing
- Pitch 27: A Journey for the N.I.A.D
- How To Pee on a Wall (When You Don’t Have a Penis)
- Nutrition Tips — Fueling for Optimal Climbing Performance
- Free Rock Climbing eBooks on Technique, Knots, Training, and More
